Creating a New Template
Before you create and execute an assignment or an observation, you have to create an observation template. These templates can be reused in subsequent observations.
Click on 'Observation Templates' to open the card, then click on 'Create New Template.'
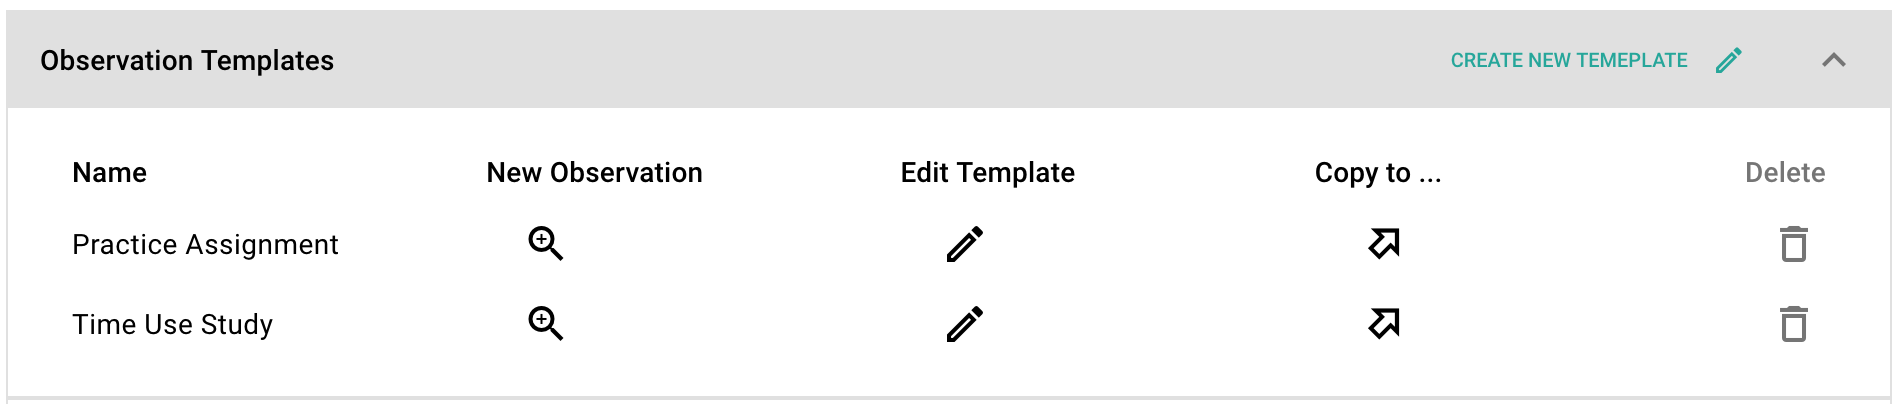
This will open the Template Editor page:

Behavioral Matrix
The original eMirror application for MacOS was exclusively designed to help researcher obtain time use behavioral data. In this new version, we'll use a behavioral matrix to gather time use data.
Step 1: Add the matrix
First, drag and drop the matrix component into the main drop zone.
Step 2: Creating Categories and Behaviors
Let's assume that we're going to create an observation matrix to measure simple instructional cycles: Teacher Instruction, Student Response, and Teacher Feedback.
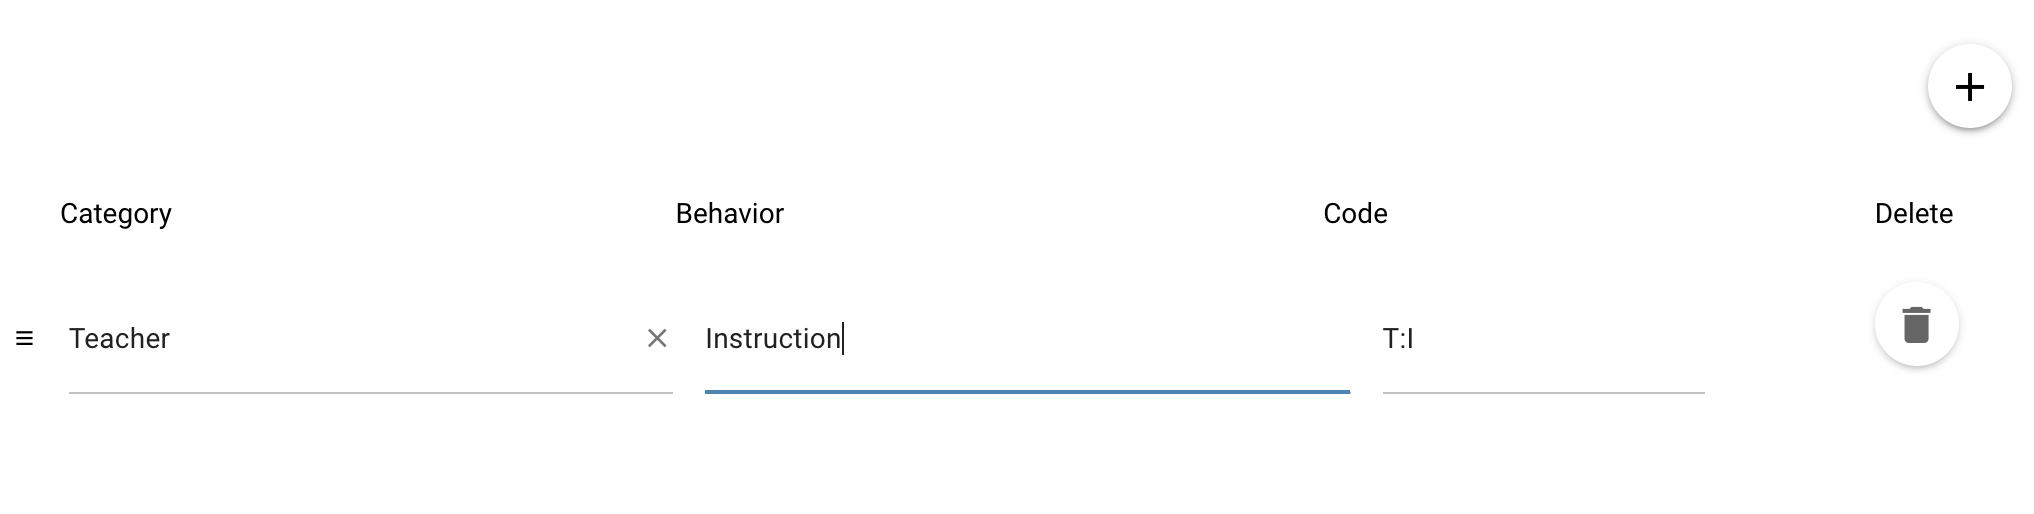
First, click on the input under category and type 'Teacher.' You will use this category to measure the teacher's behavior when the teacher is the focus of attention.

Hit 'Enter' and then 'Tab.'

Type 'Instruction' in the 'Behavior' input. Notice that eMirror has created a code for the behavior in the third column.
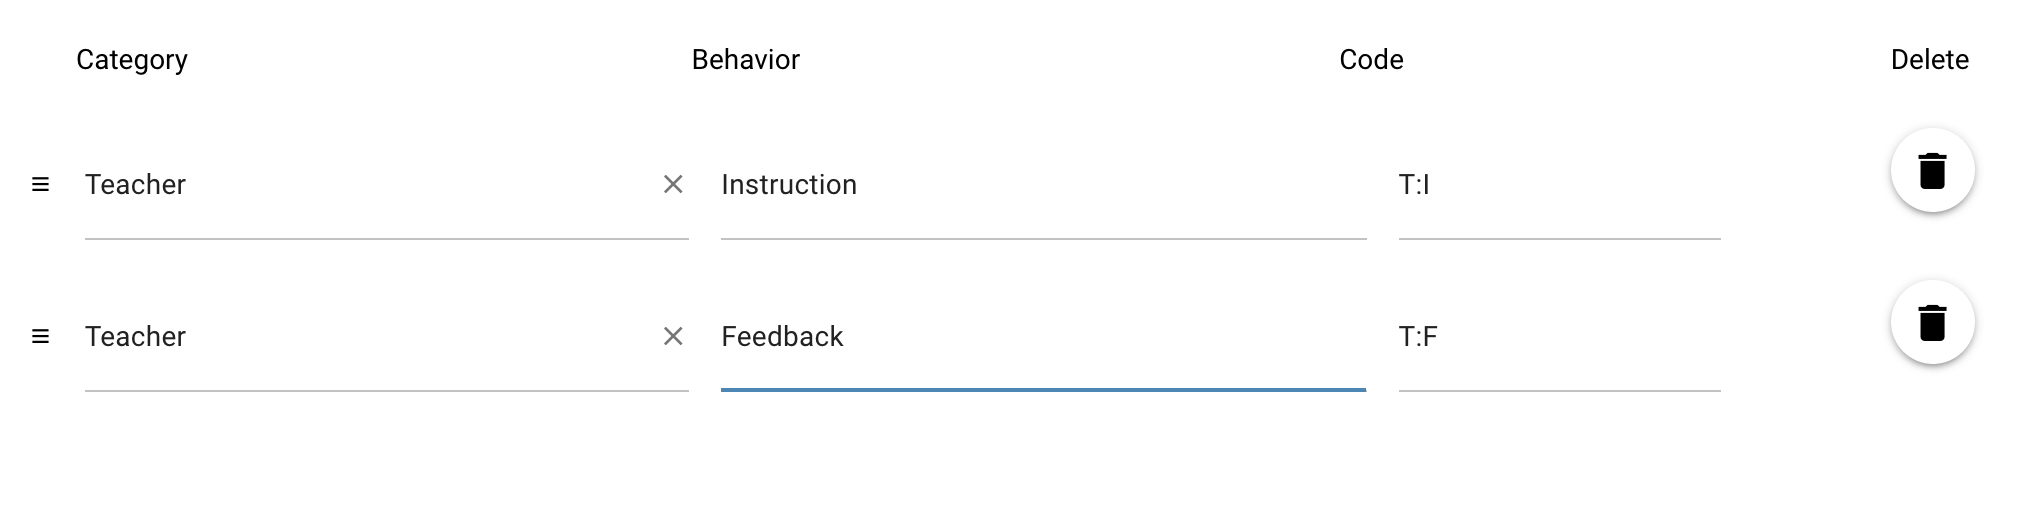
Next, click on the plus icon in the upper right to create another line in the matrix. When you click on the category input in the new line, you will see that your previously created category, 'Teacher', appears as a popup option. Click on it to add 'Teacher' as the category for this behavior.

Hit Enter and then Tab to move the cursor to the behavior input. Type in 'Feedback.'
Next, create a new line by clicking on the plus icon, add a 'Student' category and type in 'Response' as the behavior. Your template should look like this:
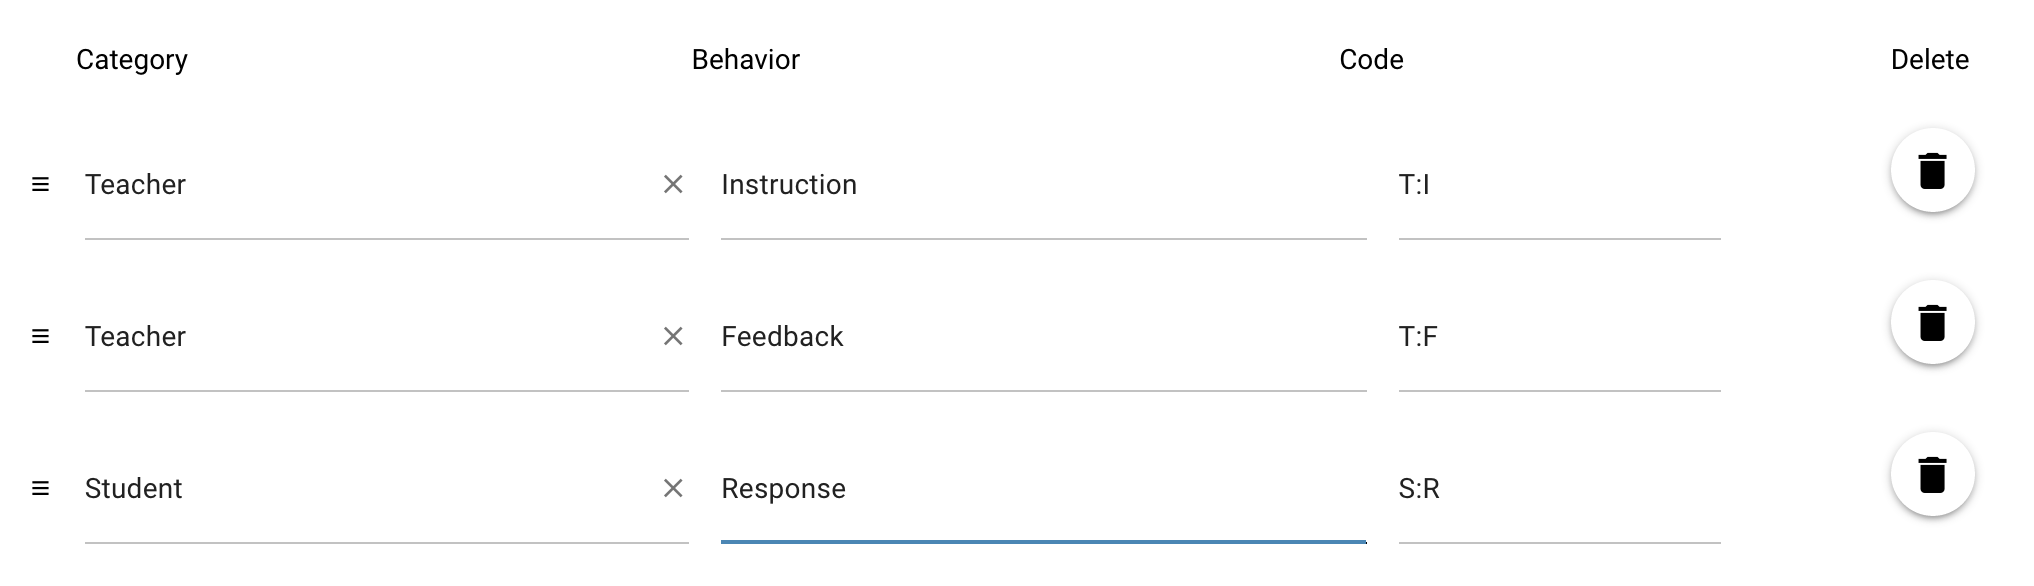
You can edit your template in several ways. First, if you made a mistake and you decide it would easier to start one line over rather than edit it, simply click on the trash can icon to delete that row and use the plus icon to add another new one.
Second, if you wanted to, you can drag and drop each row to re-order the behaviors. You do not need to group the behaviors together by category; eMirror will handle that for you. But, in the final observation matrix, the categories will show in the order that they first appear in the observation template.
Finally, you can edit and set specific instructions for the behavior matrix.
Other Observation Components
As with the matrix, other observation components are added by dragging them to the template. You can also reorder the components in the template by dragging them, or delete them altogether by click on the trash can icon next to each component.
Checklist
The checklist component is useful for capturing at least one instance of the observed behavior, such as a list of best practices, or step-by-step procedures, such as assembling an instrument.
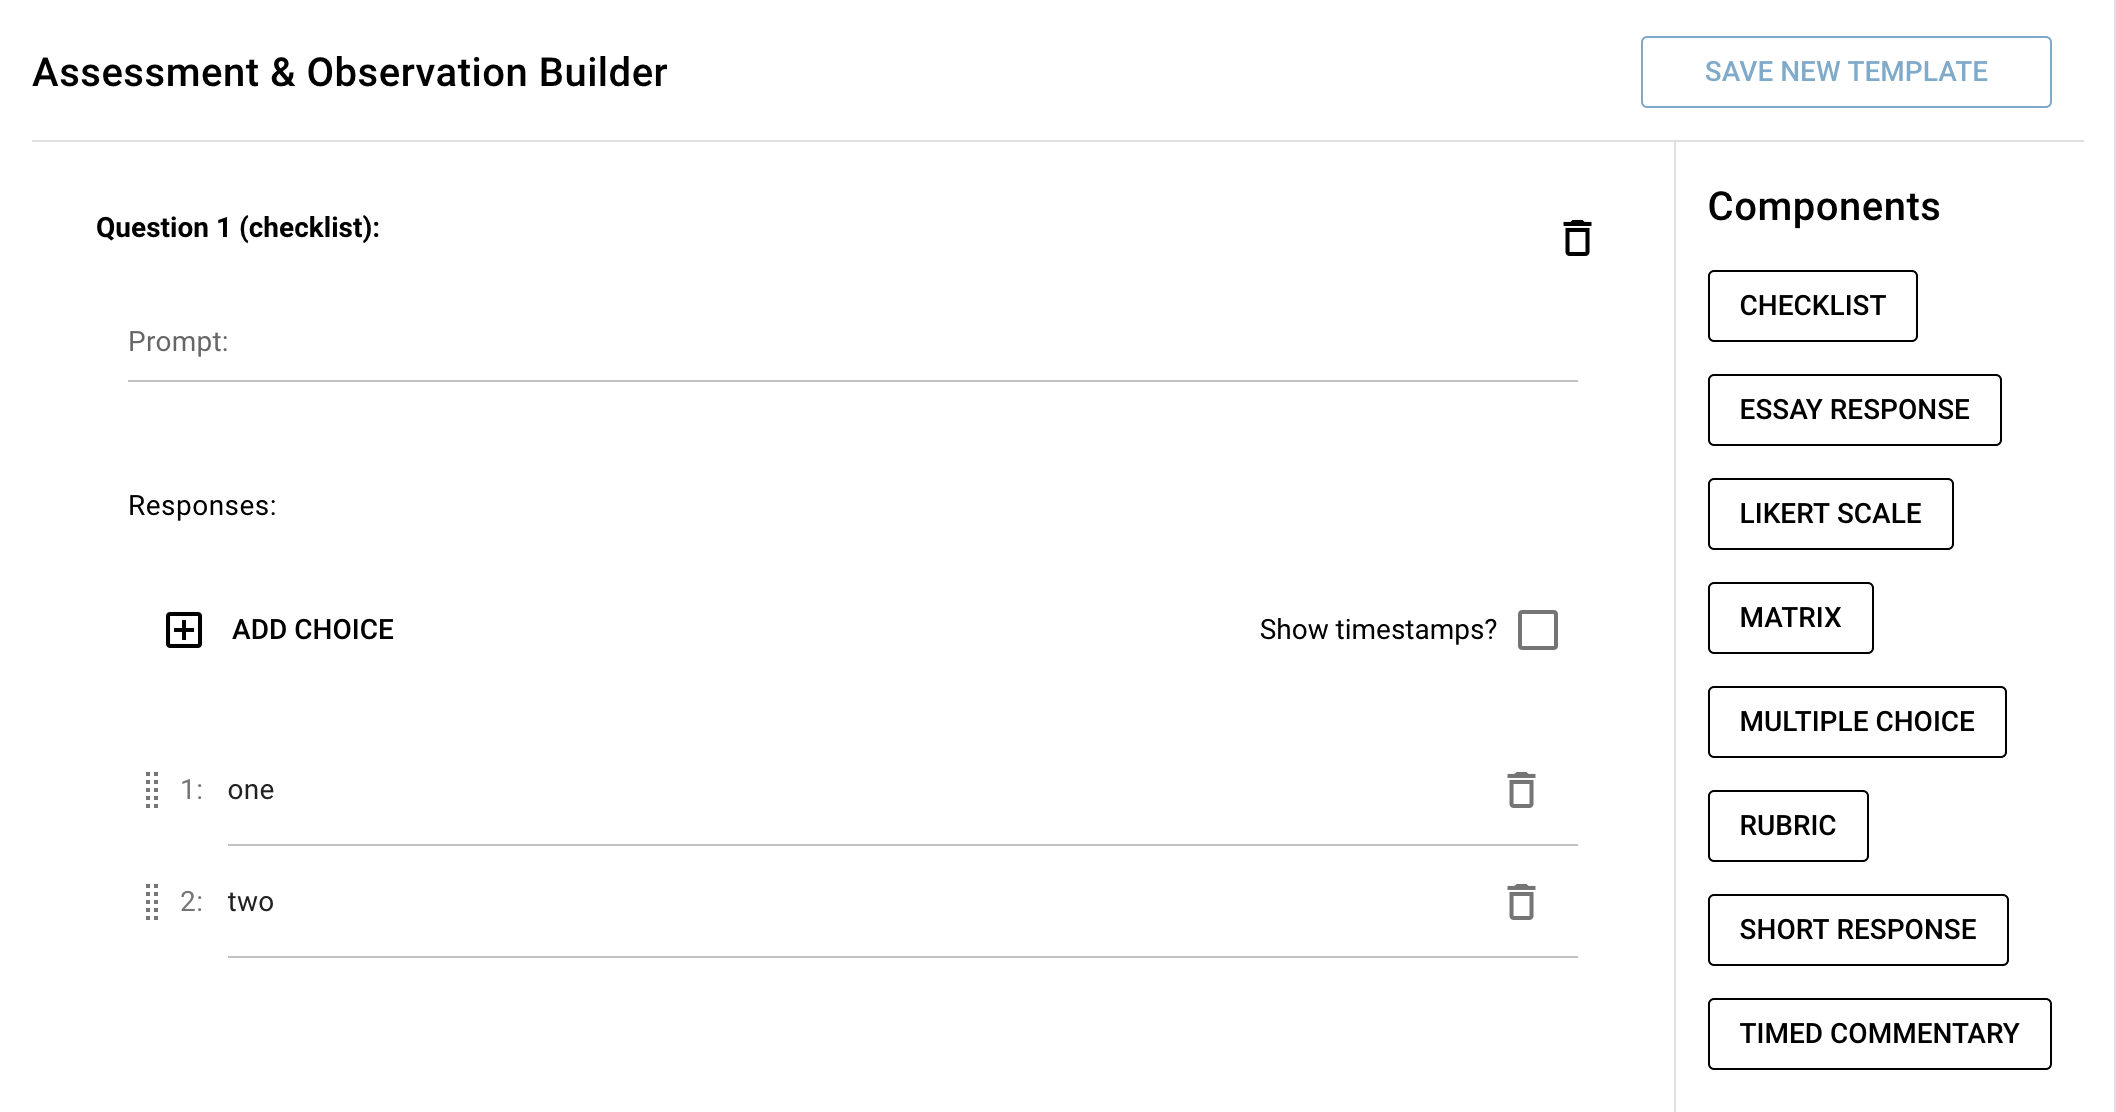
Timestamps are useful in two cases:
- the observer is using media (video or audio) and wants to document exactly when in the media the behavior is observed. Doing so allows anyone to go directly to that time in the media to review the behavior, and
- if a group of observers are completing a live observation, they can compare the timestamps for agreement and reliability.
Timestamps are always recorded in checklists; clicking on 'Show timestamps?' merely shows them by default. Clicking on the timestamp moves the media file to that time for easy review.
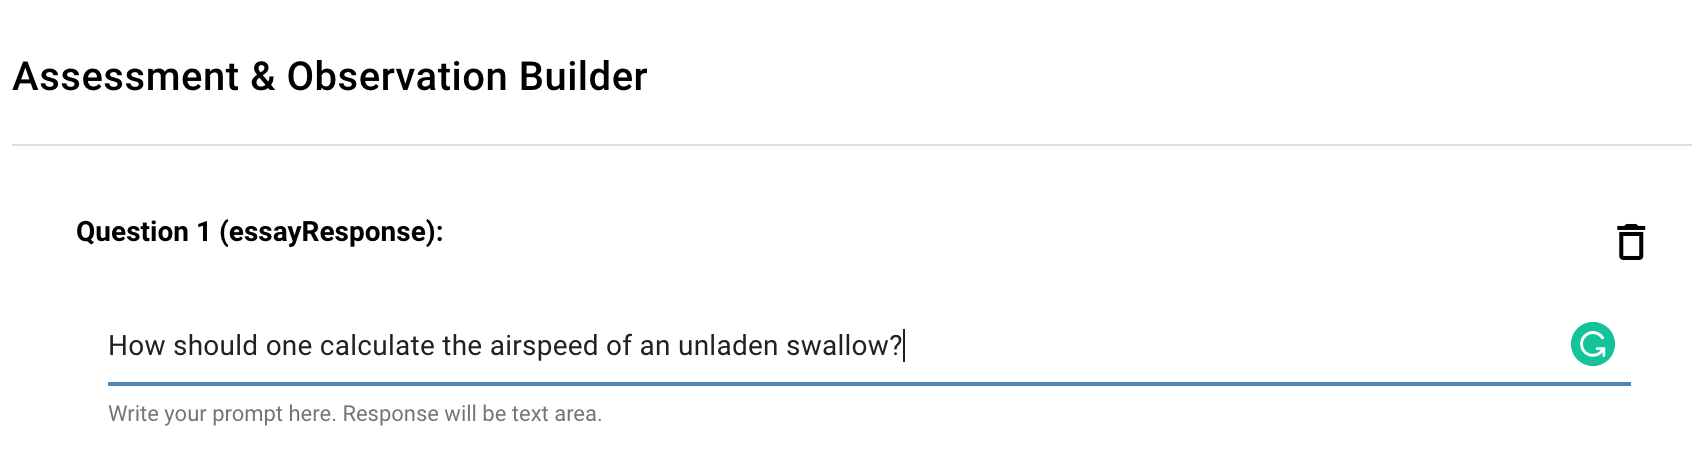
Essay Response
The essay response component provide editing capabilities similar to a word processor, including text stylings, text alignment, quotes, and lists. While creating an essay response question, only the prompt is visible.
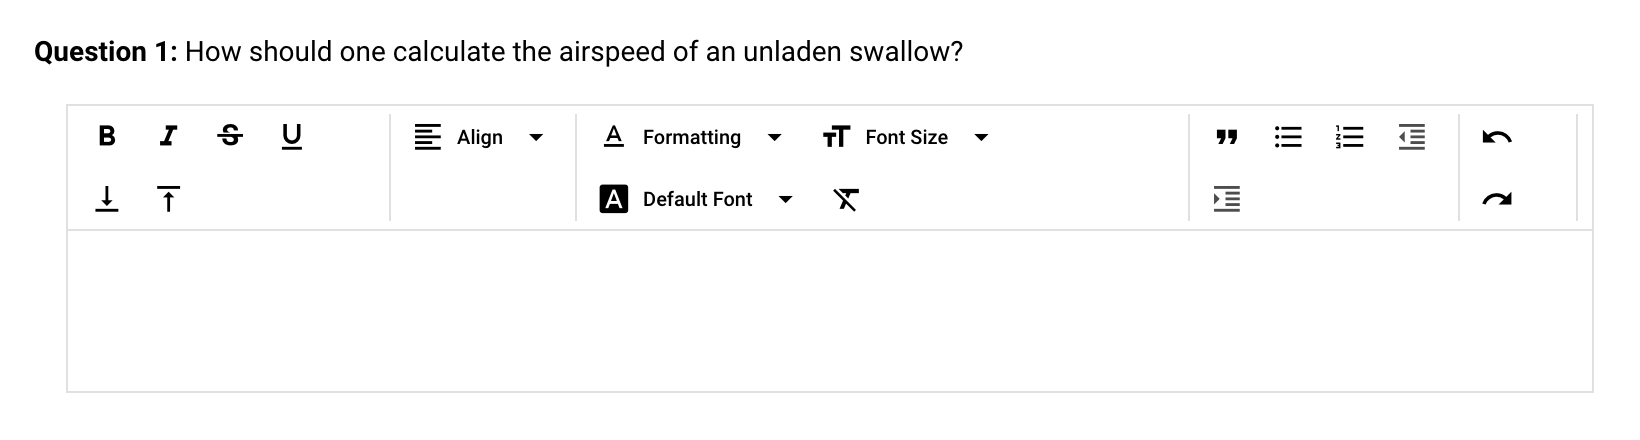
All of the capabilities are available during the observation or assessment:
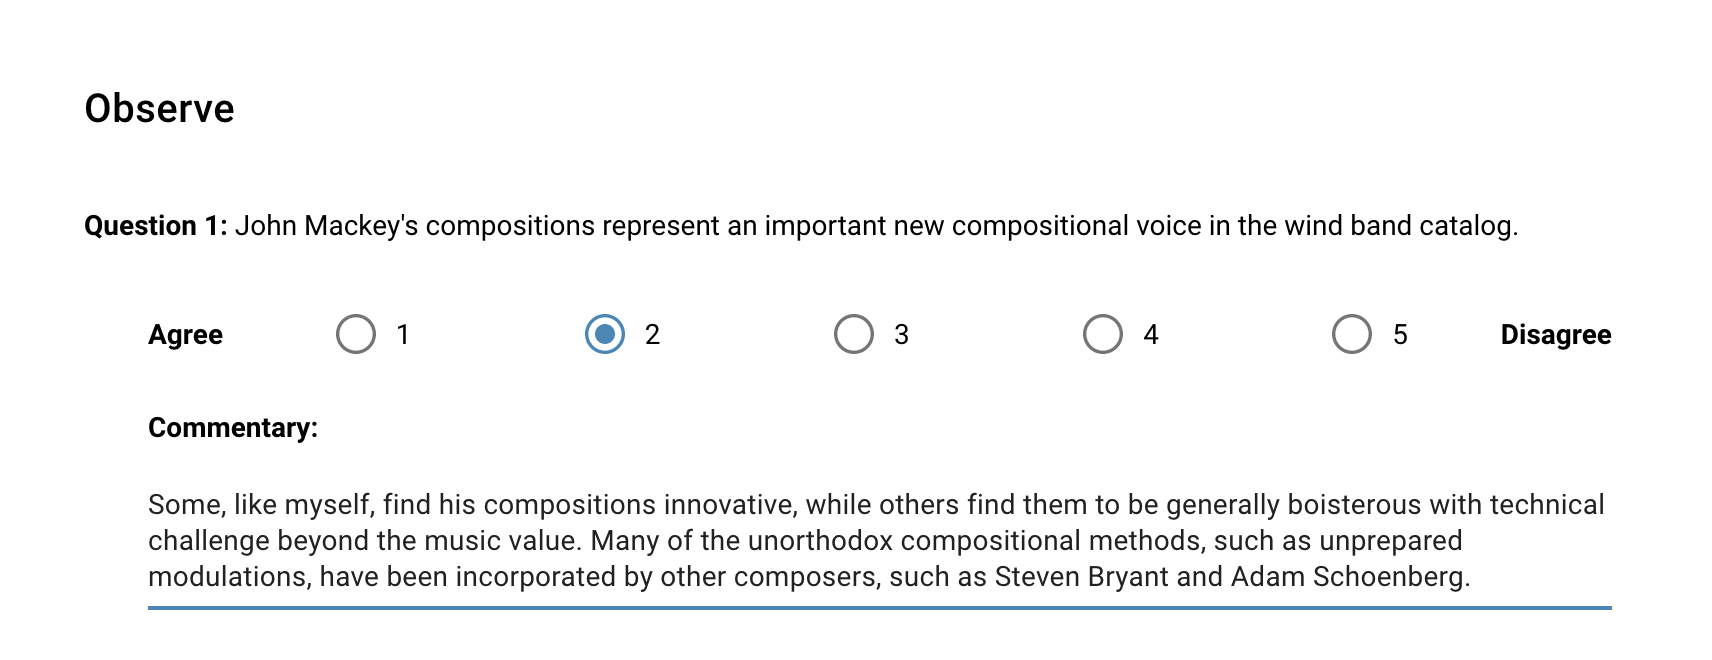
Likert Scale
A Likert Scale is a kind of rating scale that is useful for determining how strongly a perspective or opinion is held by a subject. The template creator need to set a prompt and the number of options, along with the left and right labels.
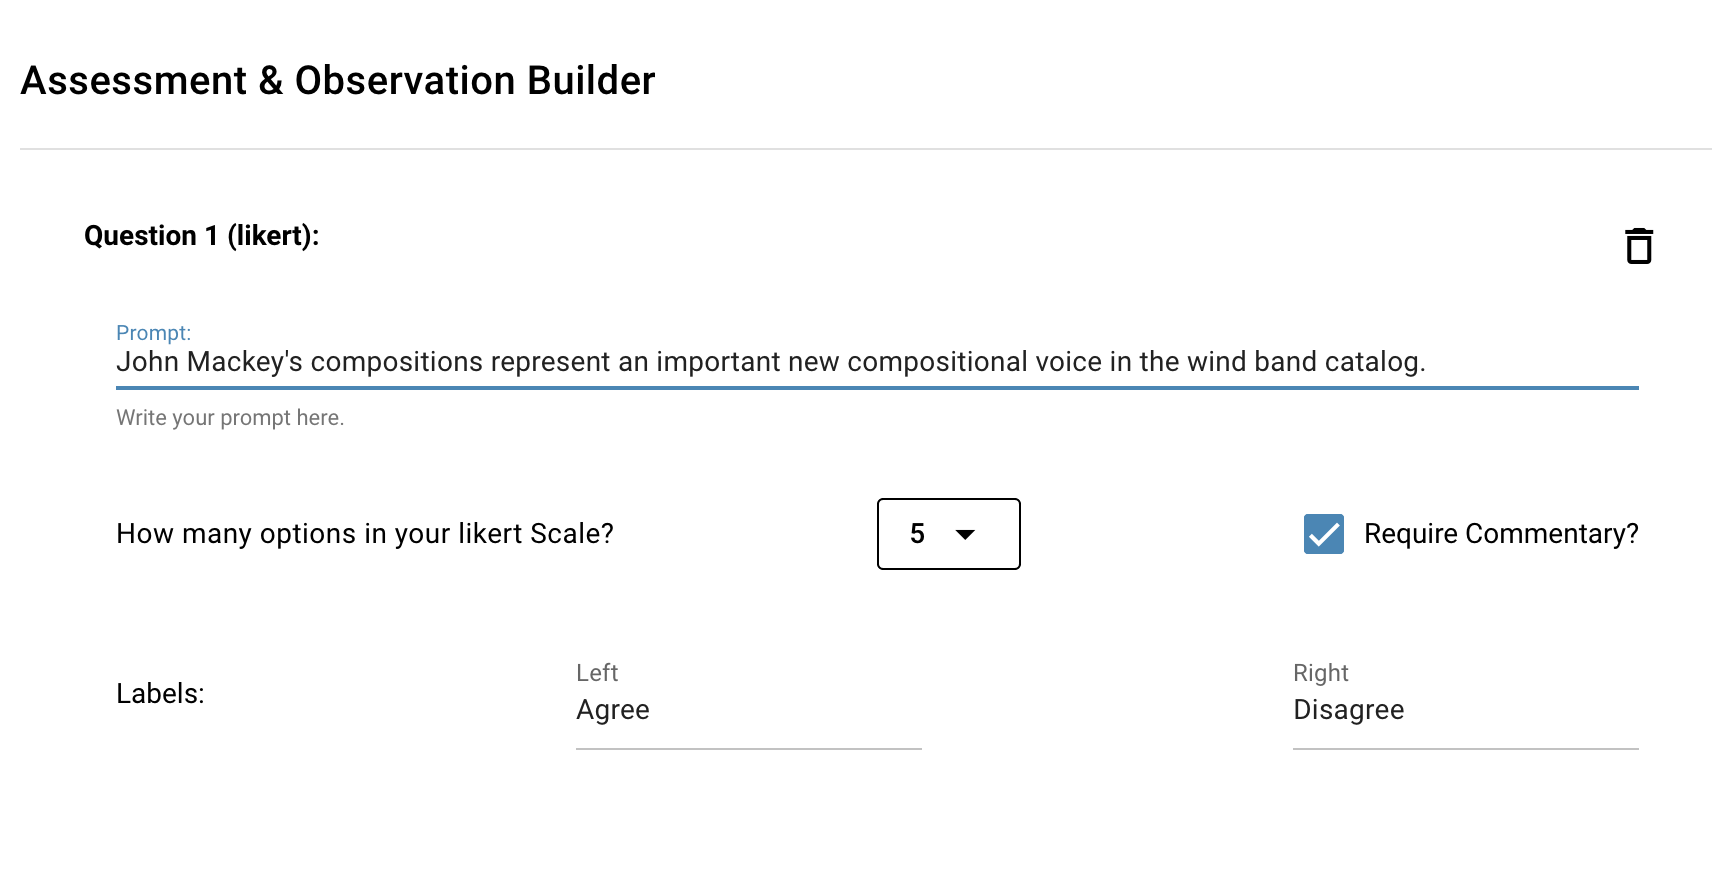
If you select 'Require Commentary?' when creating the template, the subject will need to defend their response.
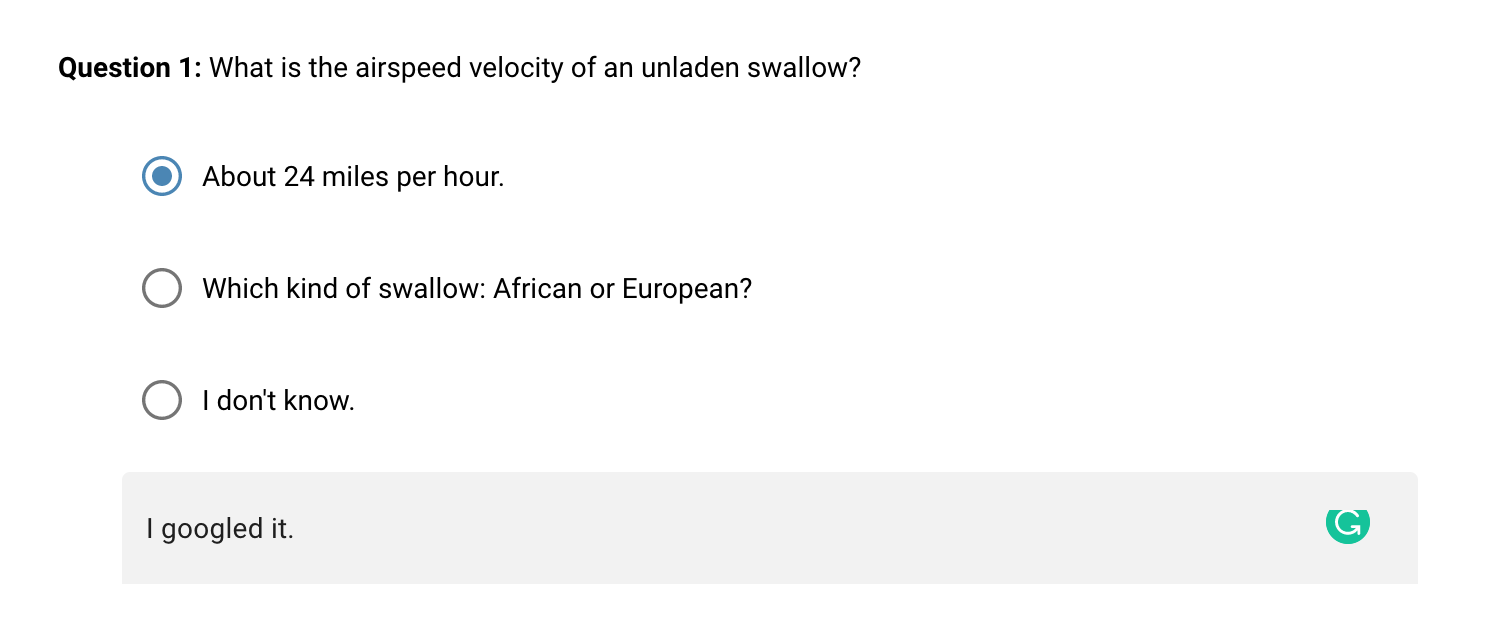
Multiple Choice
The multiple choice component allows users to select only one of several optional responses to a single given prompt. By default, there are only two options. The designer can add more options by clicking on the plus icon.
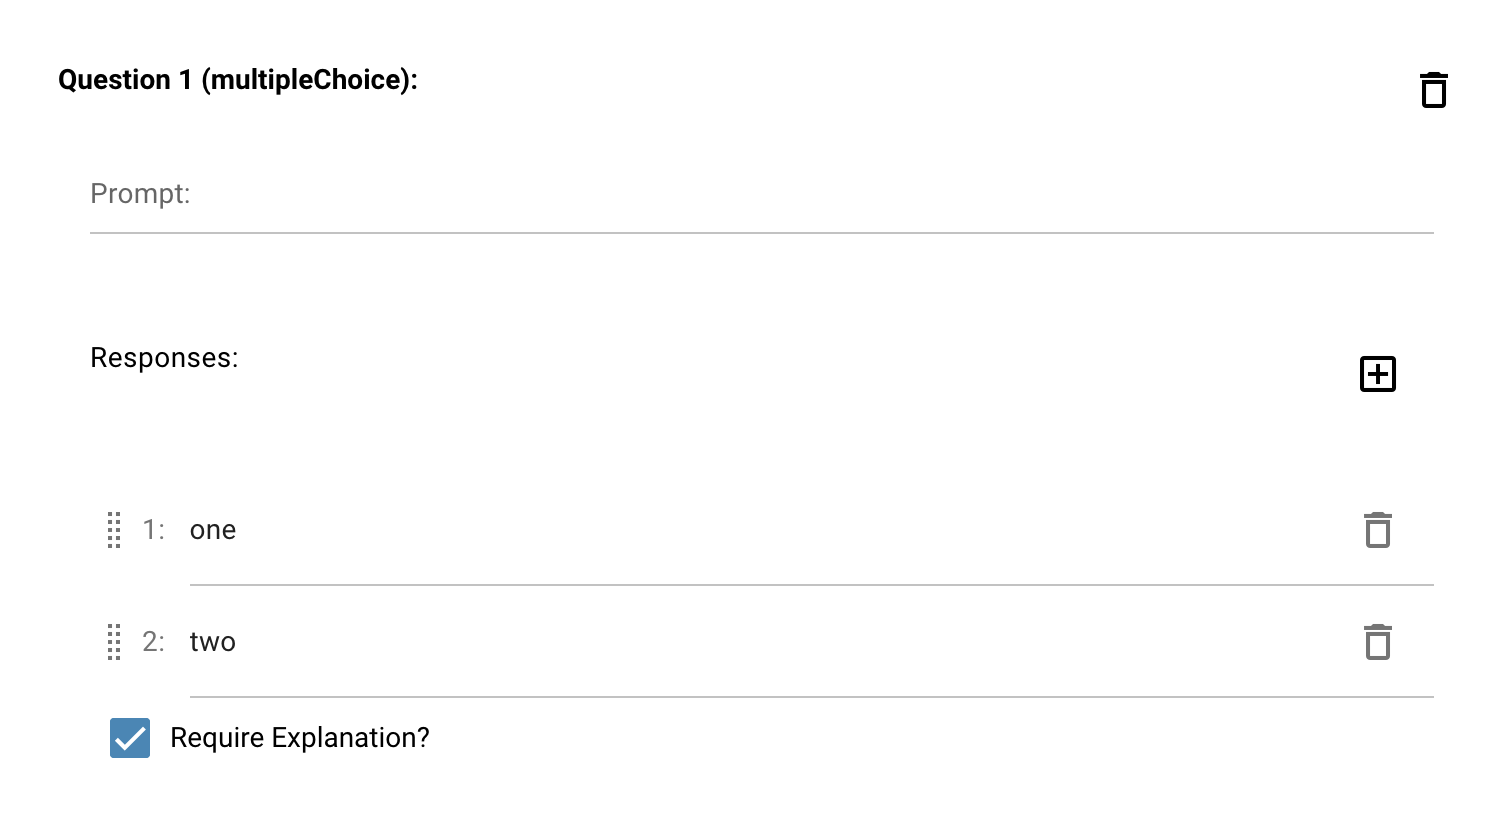
The template creator need to set a prompt and the number of options. In eMirror, the assessor can require the subject to provide a written explanation for why they selected a particular option.
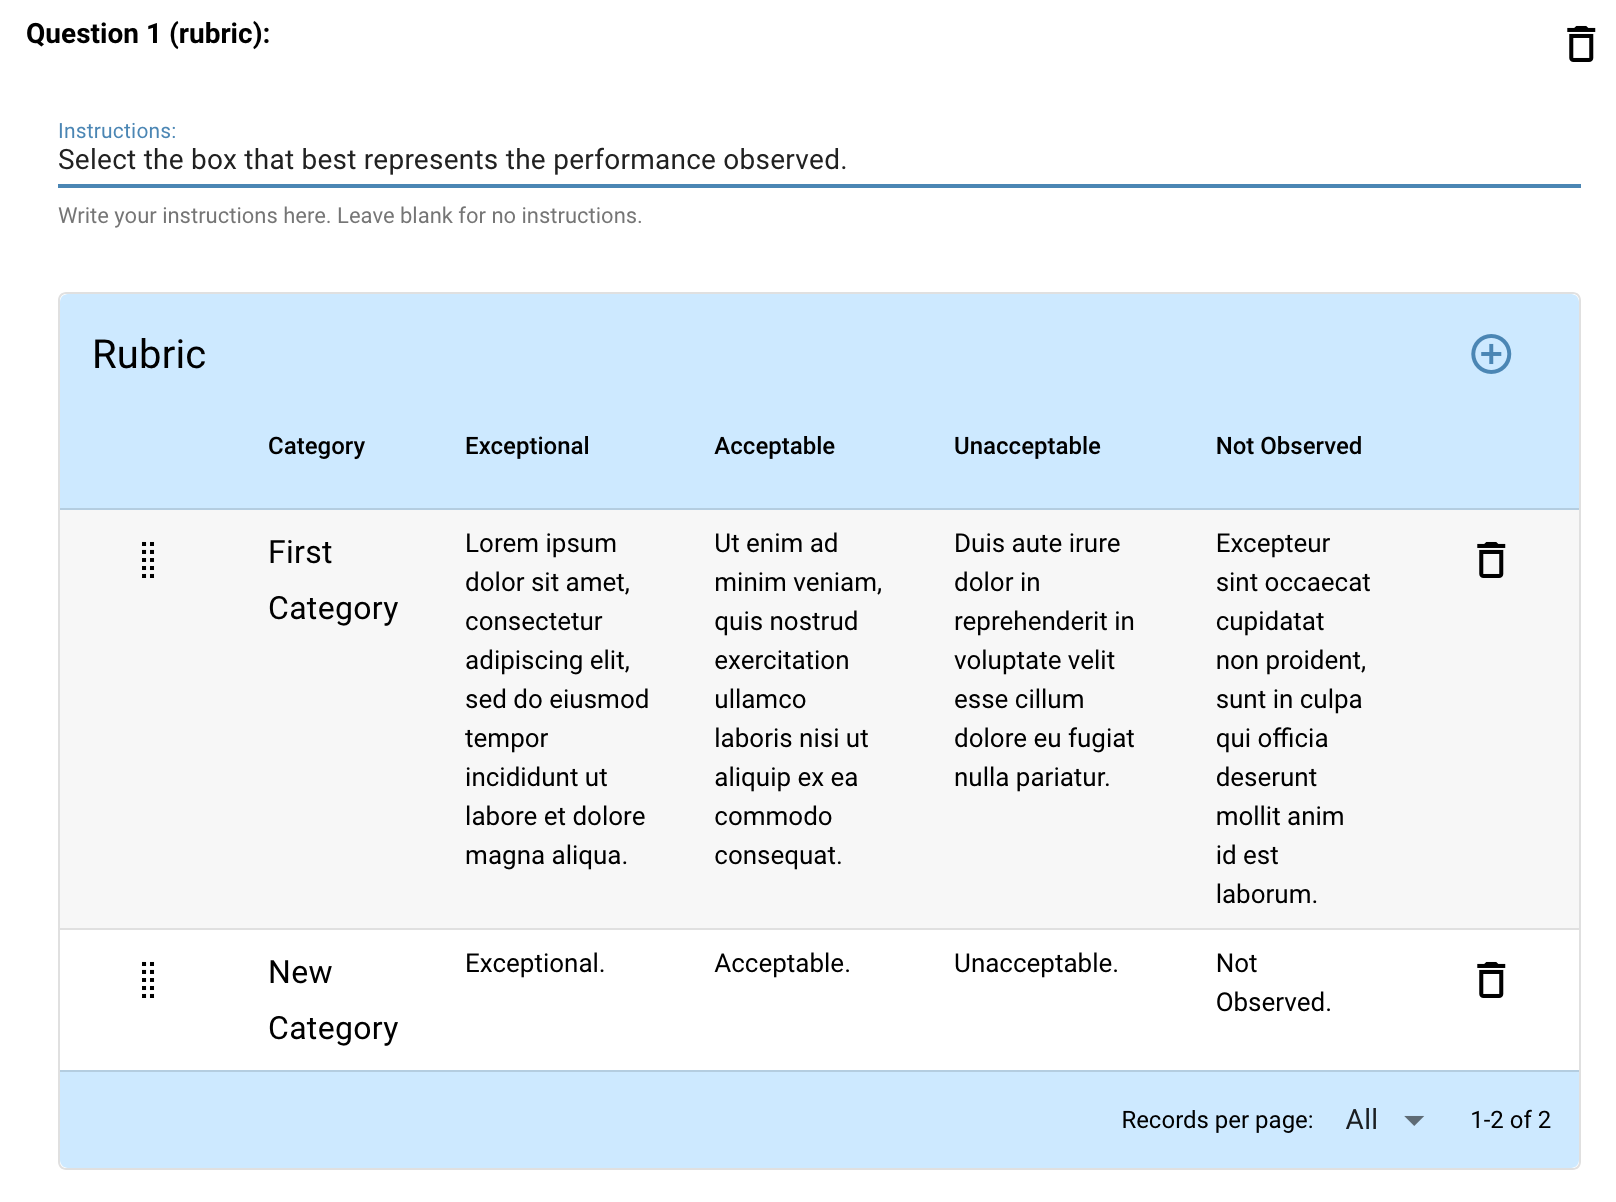
Rubric
A rubric is used to assess levels of achievement. The observer provides a more wholistic evaluation of the performance but with criteria defining each level of achievement.
In eMirror, the template creator must 1) write the prompt with instructions on how to use the rubric, 2) determine the number and name for each category of the observation, and 3) define each level of achievement within each category. To add a new category, simply click on the plus icon at the top right of the rubric.
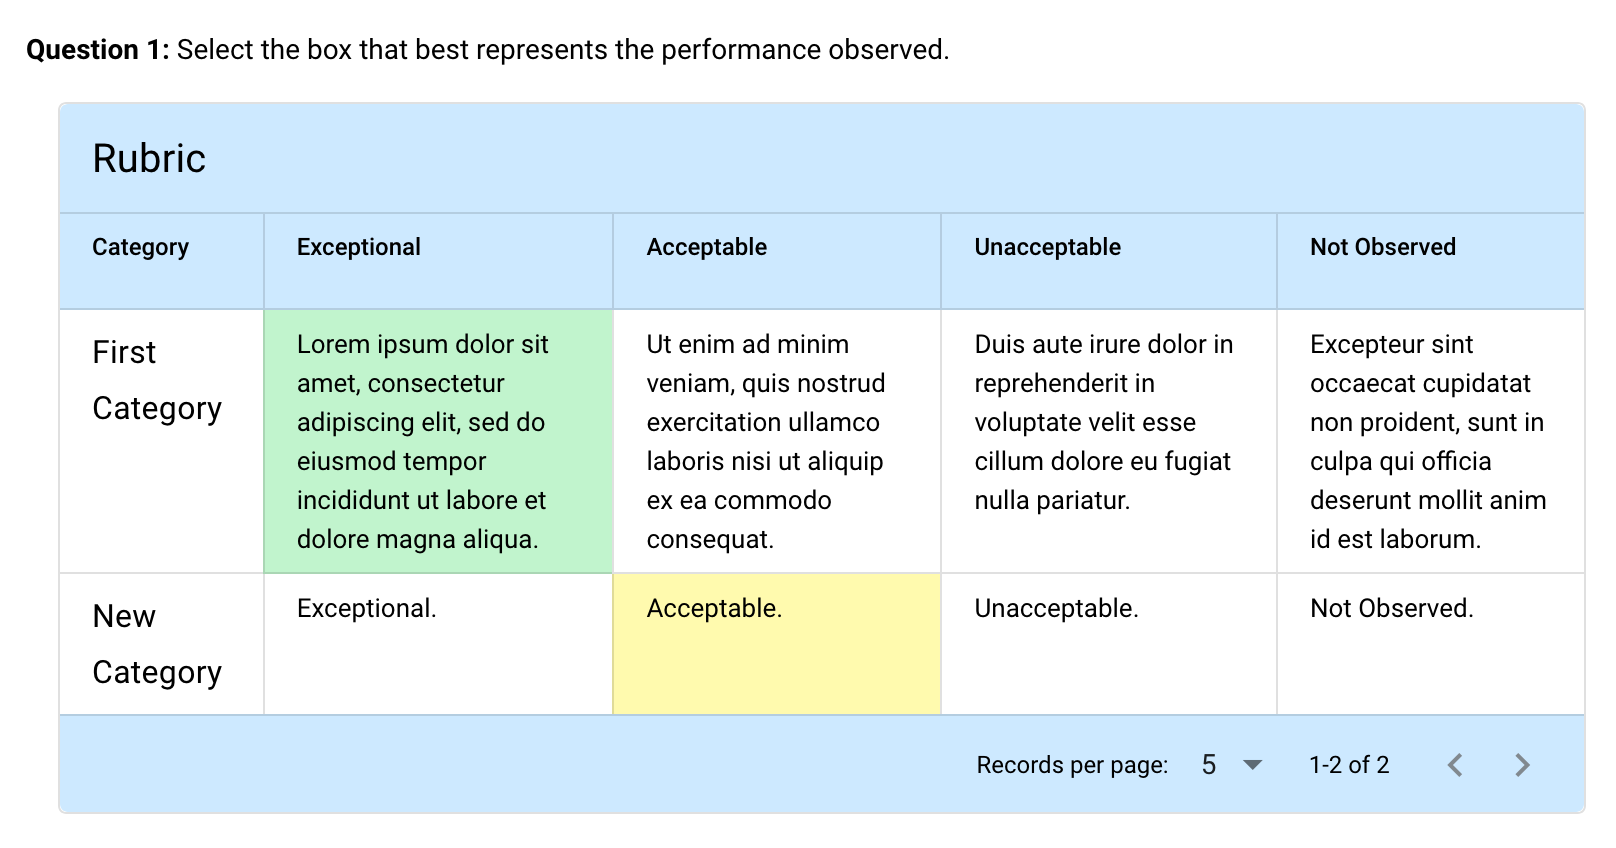
When observers or assessors use the rubric, the achievement level is colorized to confirm the selection.
Short Response
The short response is similar to the essay response, but the subject will not have access to any text formatting tools. Therefore, it is most useful for short one or two sentence responses.
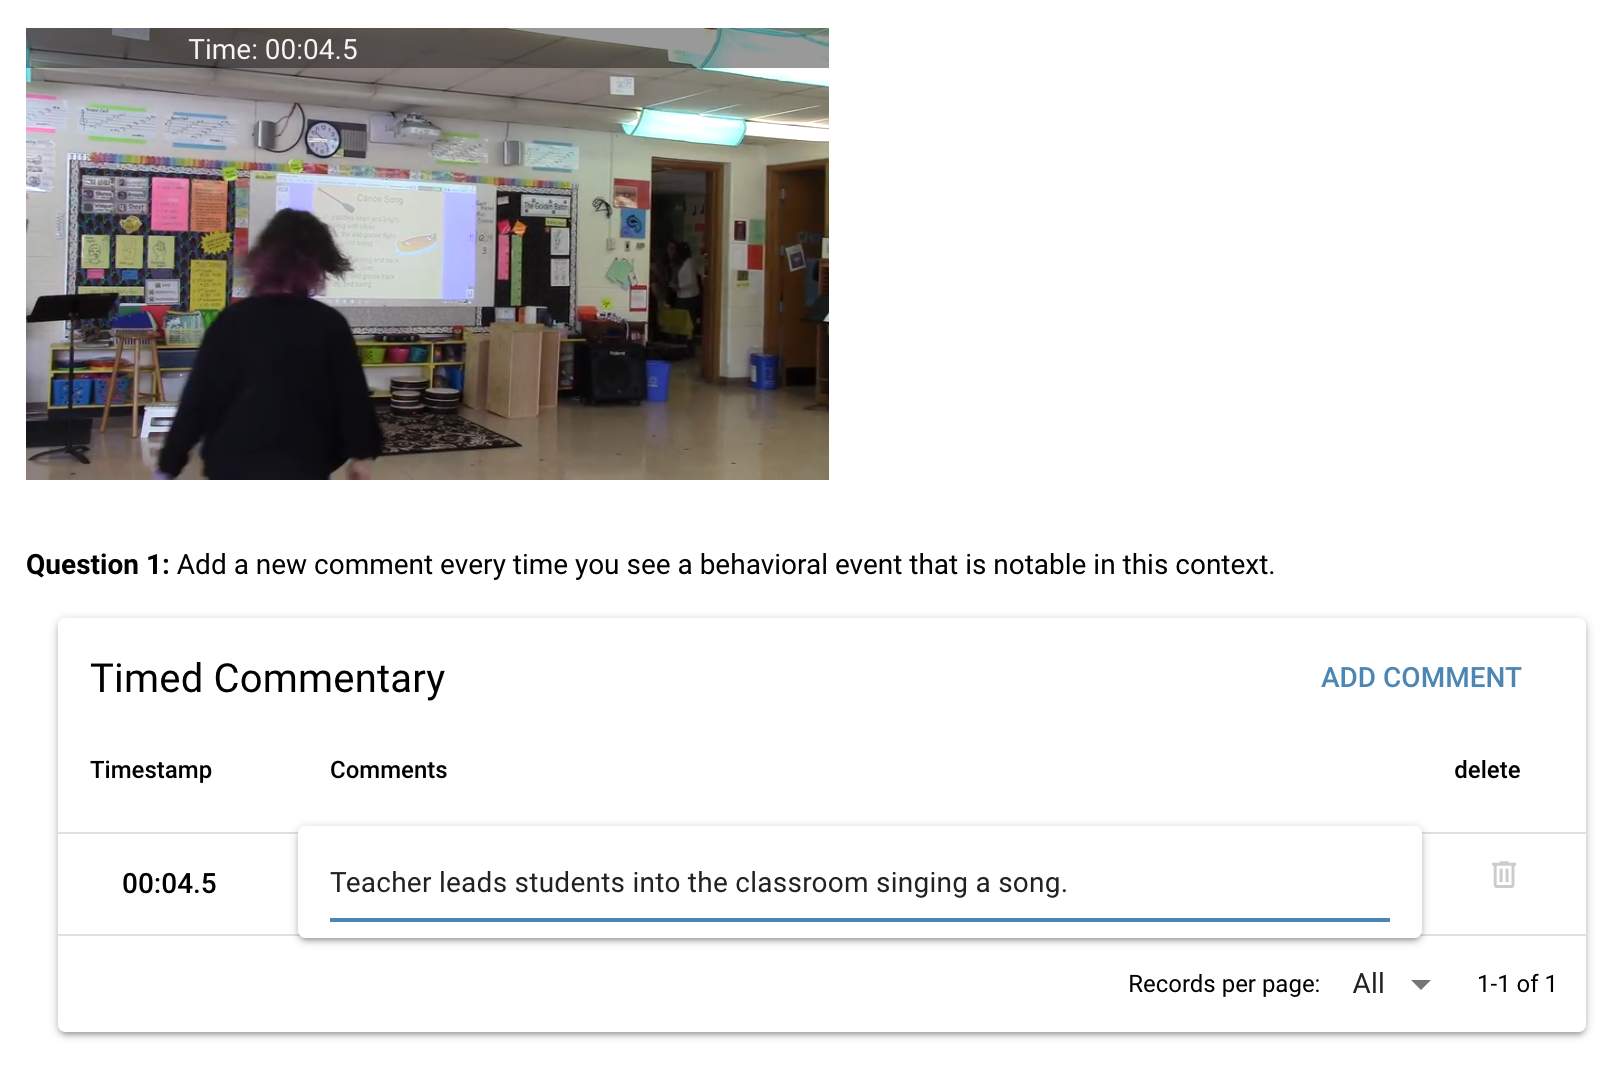
Timed Commentary
Similar to the behavior matrix, the timed commentary component mediates the acquisition of behavioral timing but does not process the timing data to any extent.
The setup is quite simple; all that's needed is an appropriate prompt.

As the observer or assessor views a video and notices an important event, they should click on 'ADD COMMENT.' This pauses the video so that the assessor or observer does not miss a subsequent important event.
Later, when the observation is being reviewed, clicking on the timestamp will move the video to the time indicated in the timestamp, which literally enables re-viewing of the event.
Saving Your Template
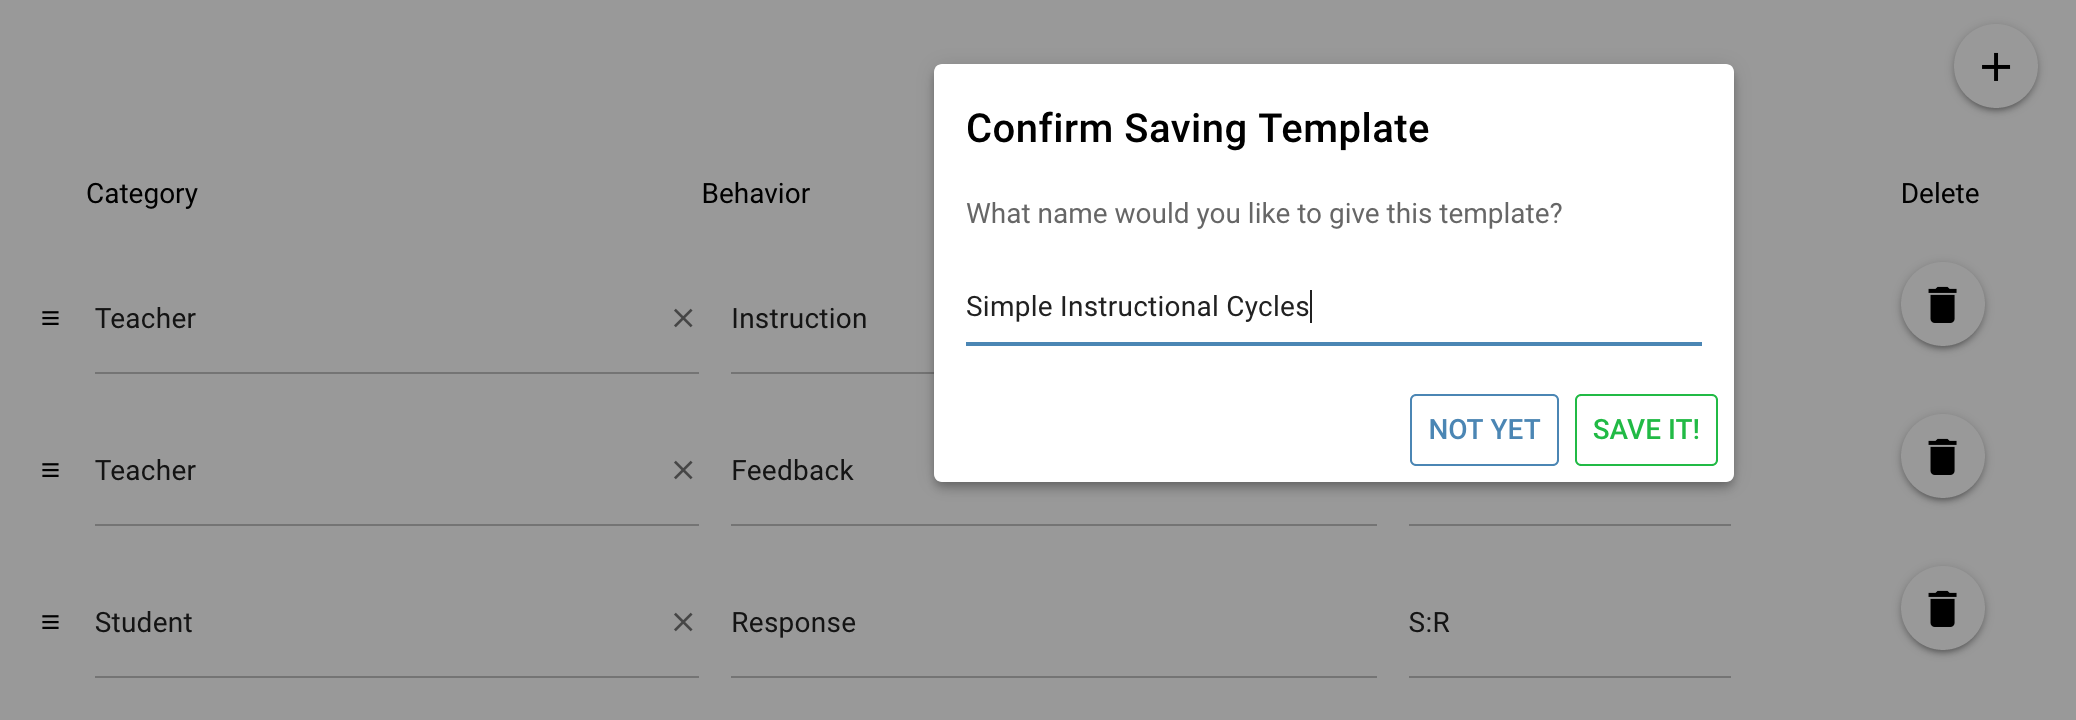
When you think you have your template the way you want it, click on the 'Save Template' button at the upper right.

When you do this, a dialog will appear and you can name your template.
You can continue to edit and save changes your template.
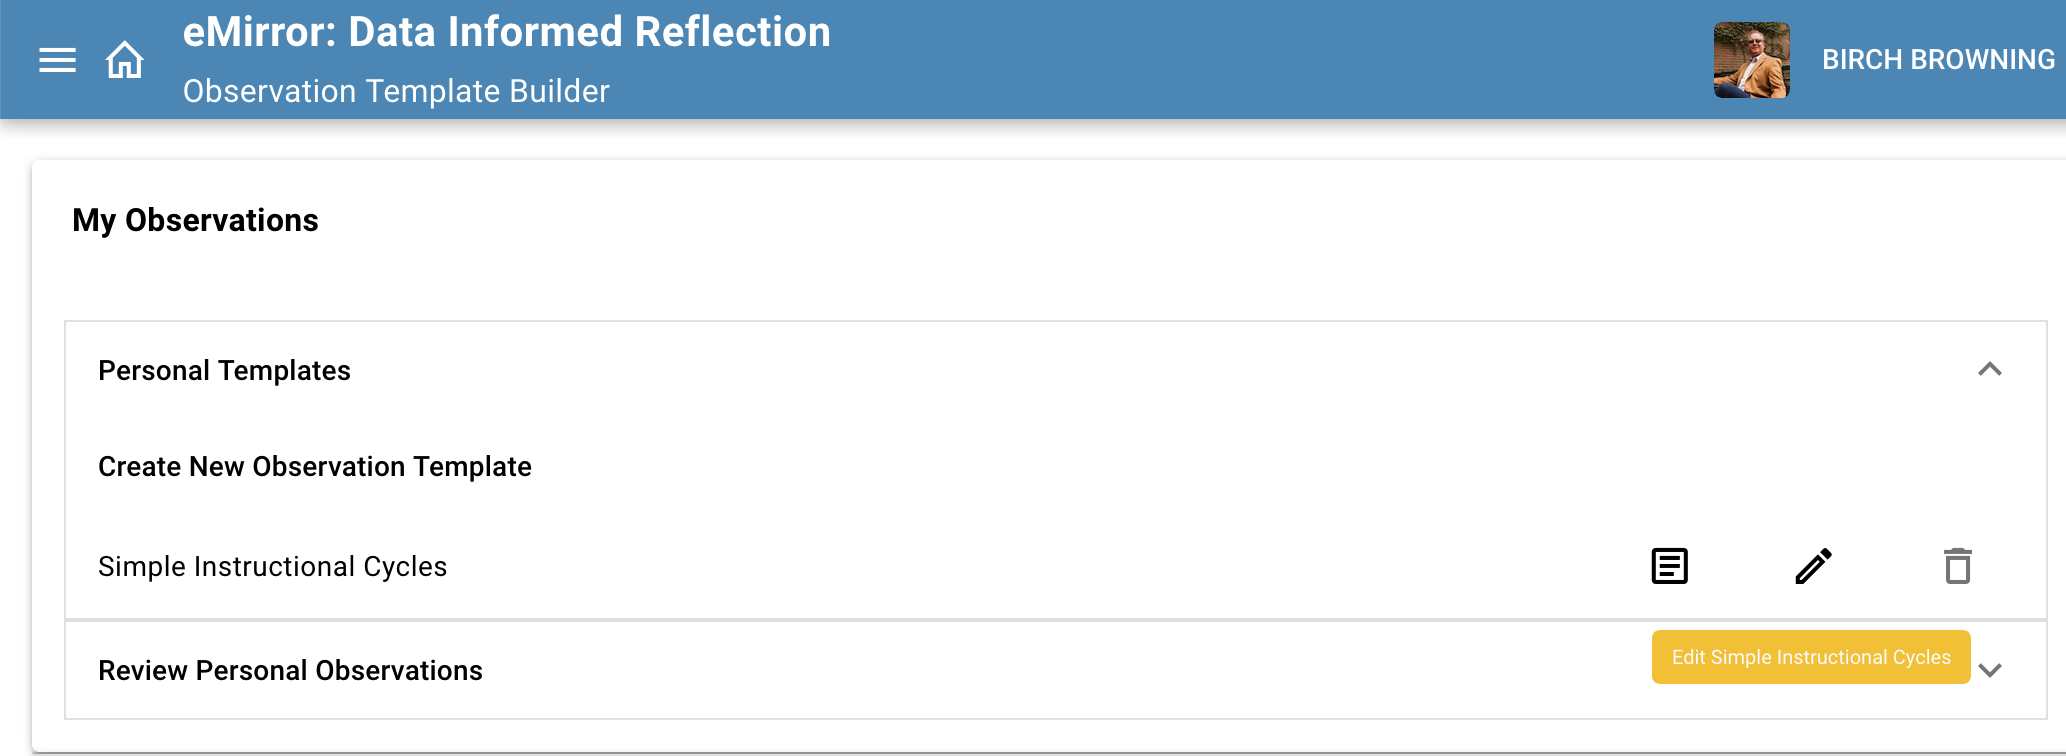
Option: Editing Saved Templates
If you decide that you need to edit an template, go home (click on the home icon at the top left), and click on 'Personal Templates' to reveal your saved templates.

Then, click on the 'Edit' icon. Your template will open to editing.
You can edit the title of the template by clicking on the name at the top left.
When you are done, click on "Update Template."

Subsequently, you can copy the edited template back to your personal template area by clicking on the 'Copy to ...' icon.