New Observation
You have to prepare your template before you can start a new observation. Once you have a template, you can start a new observation by clicking on the template name under 'Personal Templates.'
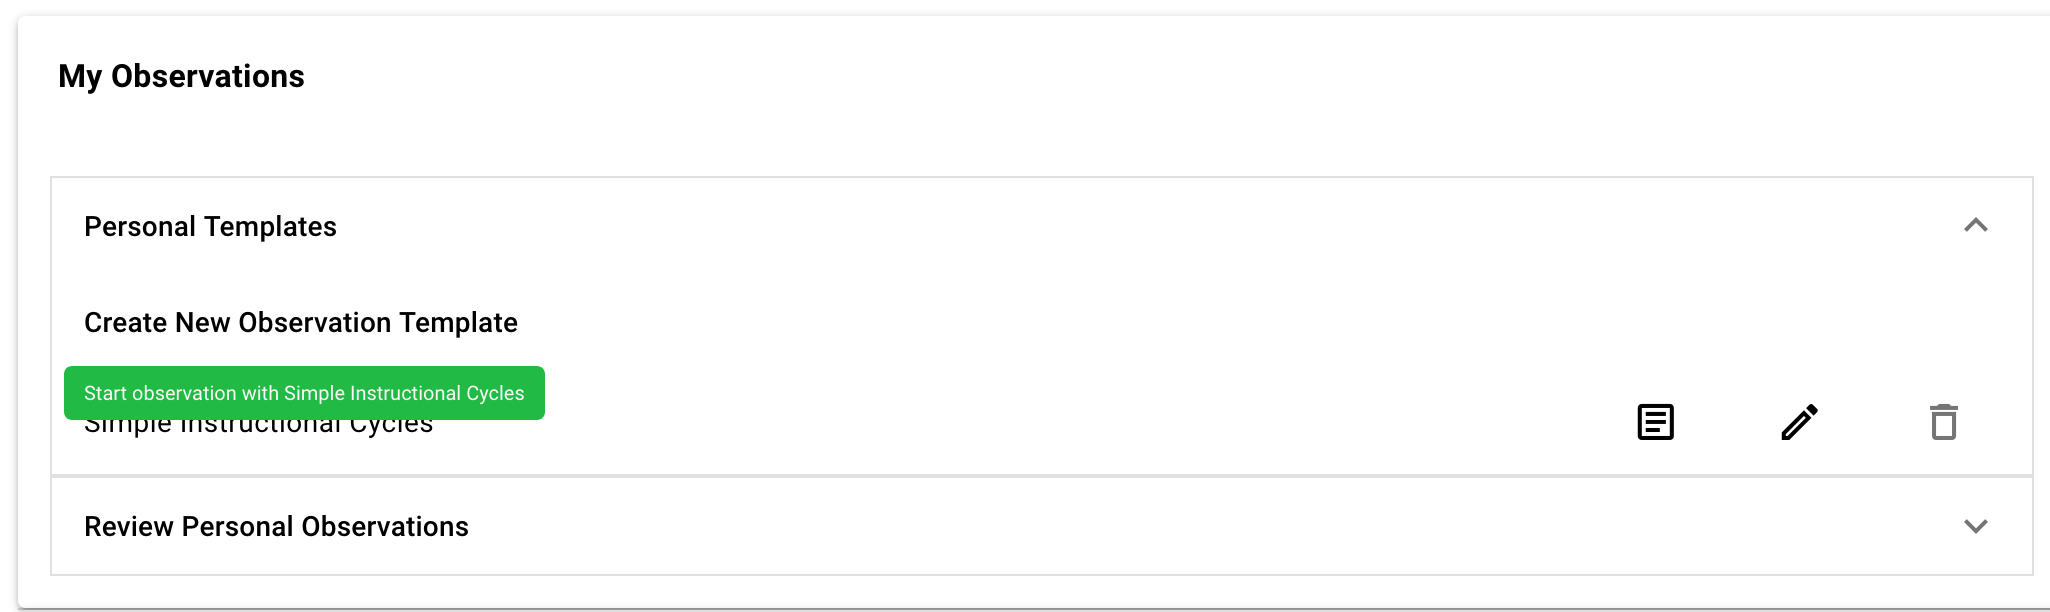
When you click on the menu item, you will then see the Observation Setup dialog.
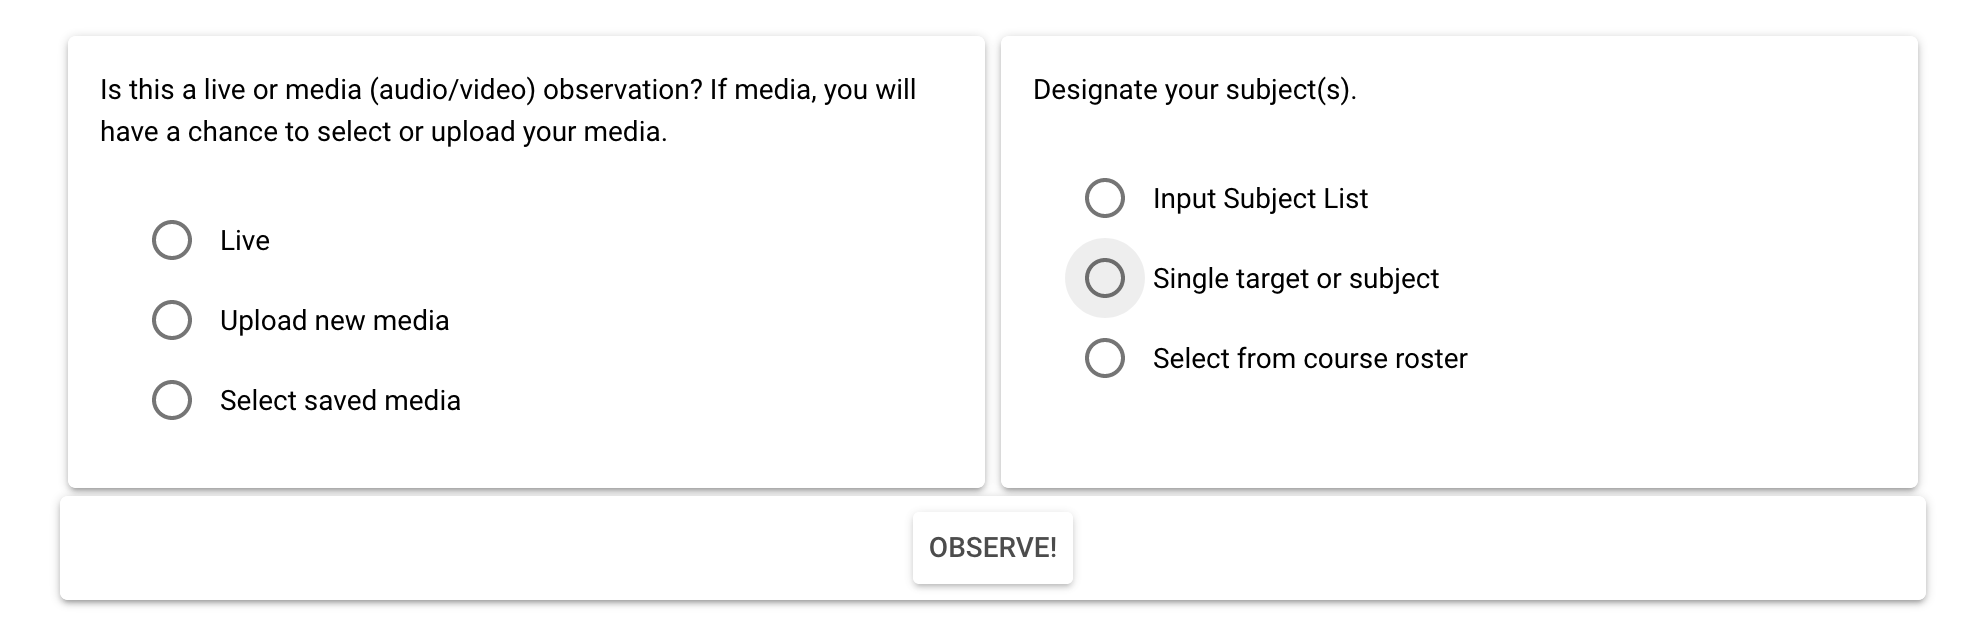
Video Options Dialog
Here you will see three almost self-explanatory options:
Live: Select this option if you do not yet have a video and want to do a live observation;
Upload new video: Select this if you have a new video to upload for an observation; and,
Select saved video: If you previously uploaded a video, you should be able to find it here.
Upload a New Video
Before you upload your first video, please read "Using Handbrake" elsewhere in the documentation.
When you select 'Upload new video,' a new dialog will open:
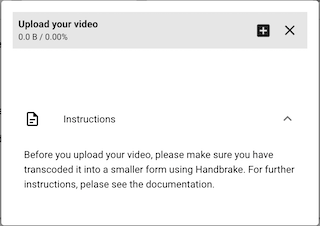
Notice that if you click on 'Instructions,' a small paragraph will open with a warning about using Handbrake. Because most original video sources are quite large, we need to use Handbrake to reduce the file size of the videos. (Uploading and downloading large video files to the Google database could be quite expensive over time. PLEASE do not upload un-transcribed videos!) Detailed instructions on using Handbrake are in a separate section in the documentation.
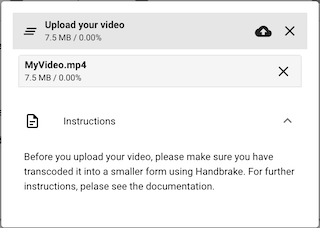
A familiar file selection dialog will open when you click on the small "+" at the top right. After you've selected your video, click on the upload icon (the cloud with the up arrow) at the top right. When finished, click the top "X" to close the dialog box.
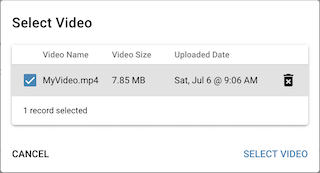
Select Saved Video
If you have previously uploaded a video, clicking on "Select saved video" will also open a dialog to select it. Click on the selection box for the video you want to reuse and then on 'Select Video.'
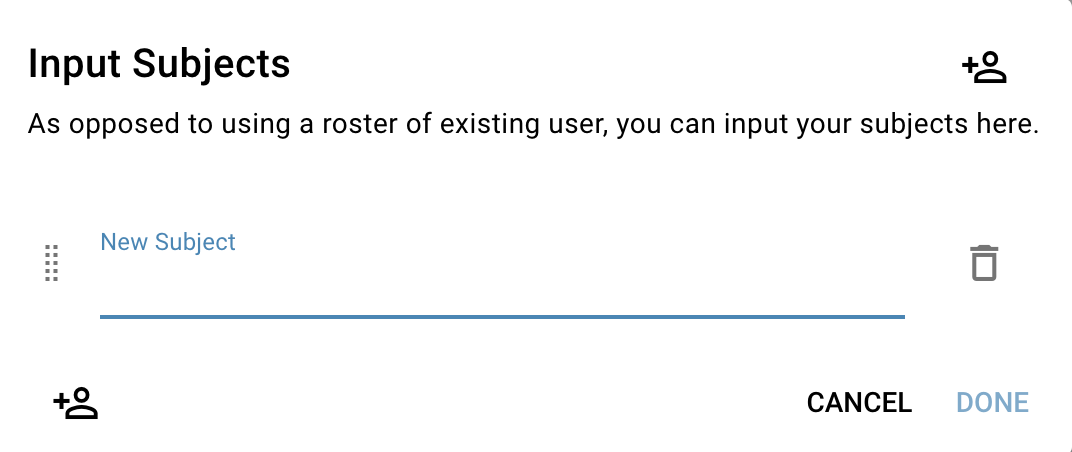
Select Subjects Dialog
There are three types of observations currently:
Input Subject List: You can create a custom list of observation subjects. To add more subjects, click the plus icon. To delete a subject, click on the trash can icon. You can drag and drop the subjects using the handle icon to the left of each subject to reorder them as you please.
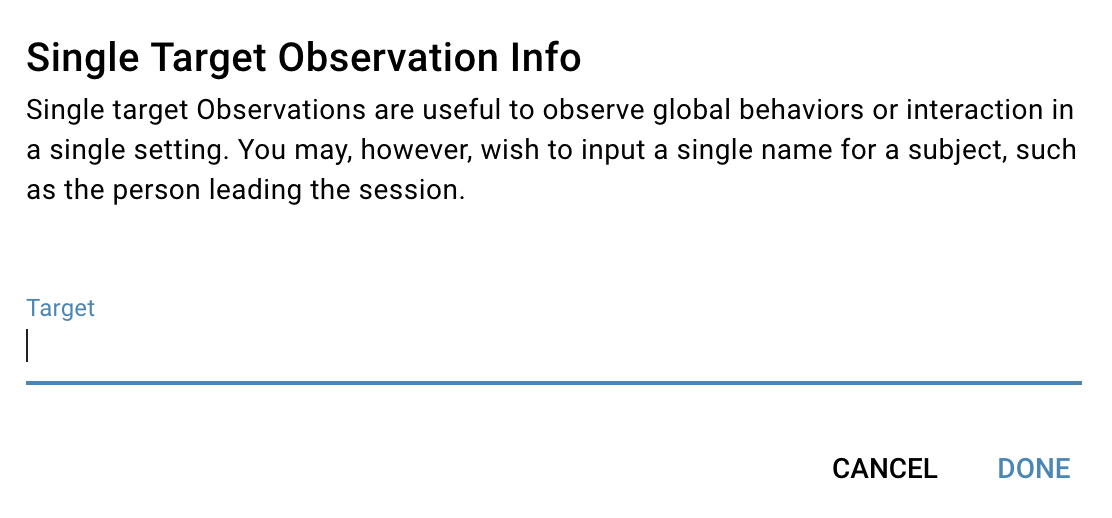
Single target or subject: This is useful if you only want to observe one person or a whole group.
Select from Course Roster: If you are an instructor, you will have the option to select individuals from the course roster.
Once you're sure that all of the settings are correct, click "OBSERVE."
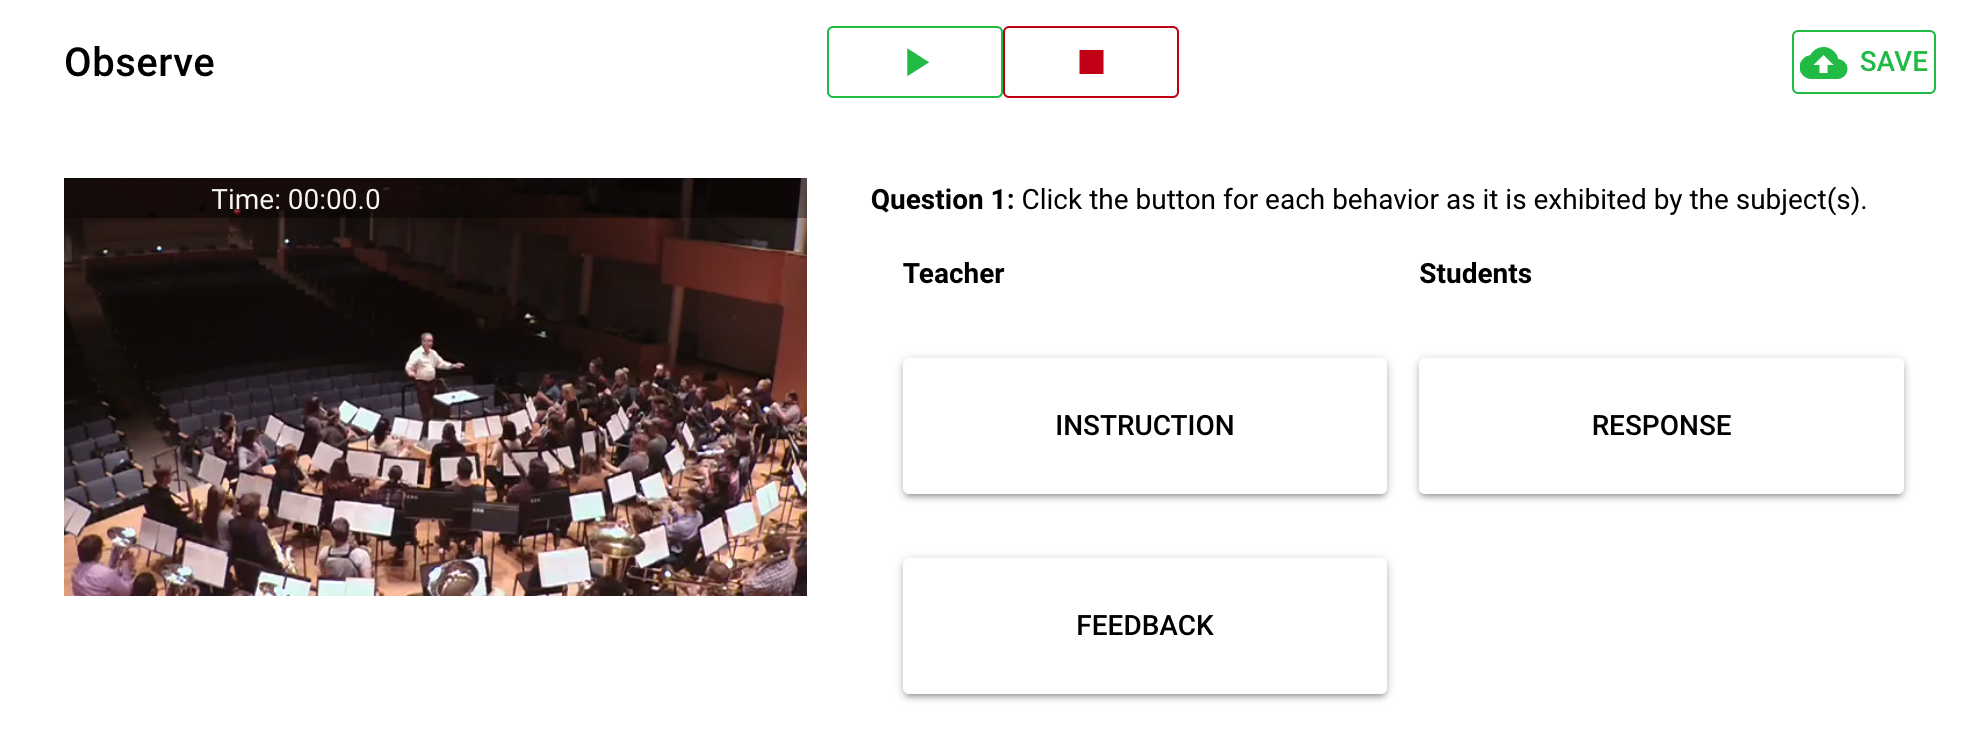
Observe and Record
Once the template is set, it's time to do the observation. To start the observation, click the green play button; to END the observation, press the red button. If you are doing a video observation, you can click the yellow button to pause; click the pause button again to restart, or you can use Control-Space to play and pause the media.
You cannot pause a live observation.
So, if you are doing a media observation (video or audio), you may want to click the pause button every time you observe a new behavior to record. This will give you time to find the right button. Click the pause button again to continue.
When you reach the end of the video or stop the video to end the observation, click the green save button.
Review Observation Results
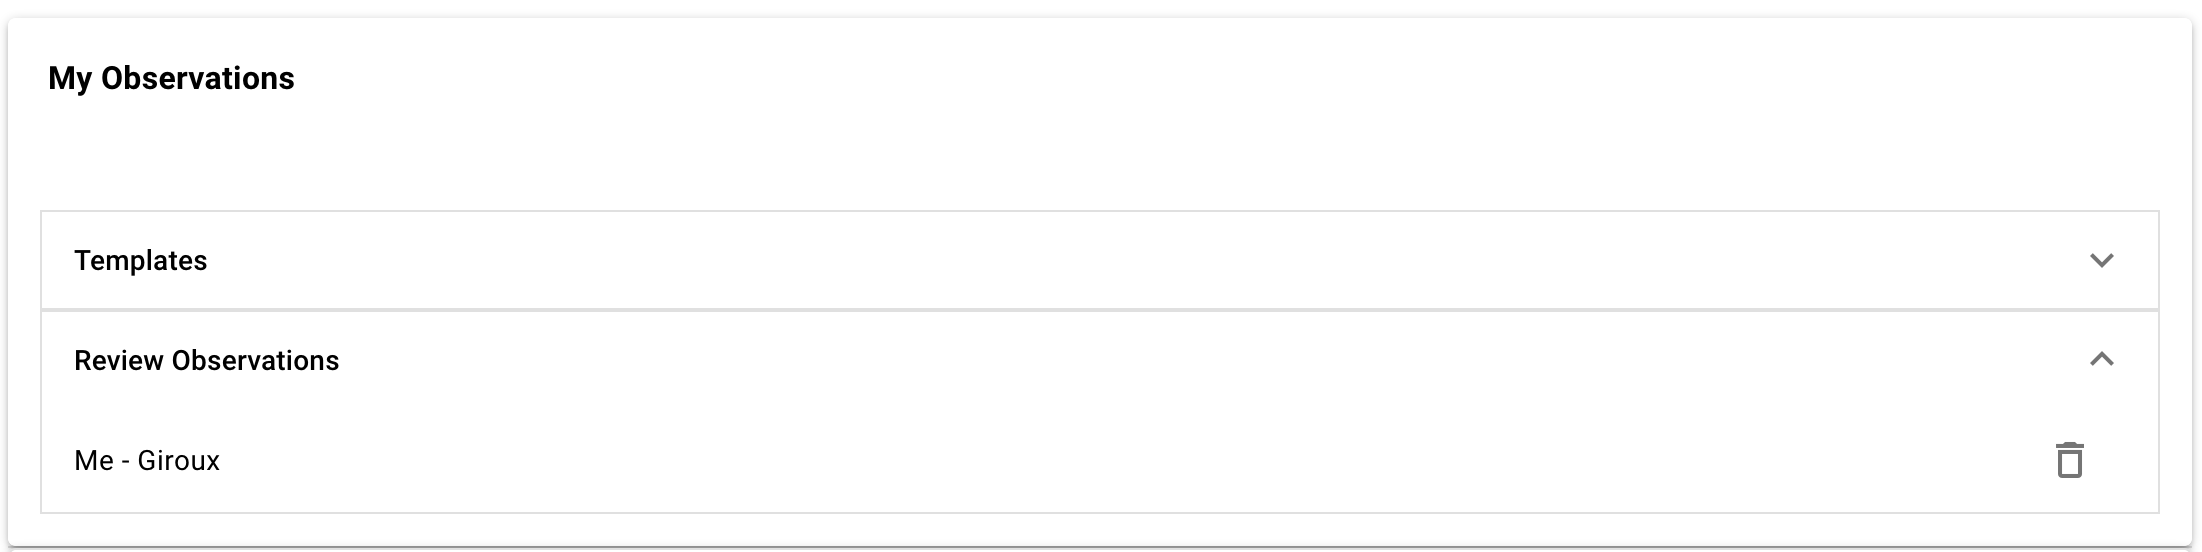
To review a completed observation, click on "Review Observations" on your dashboard. From the list of completed observations, click on the title of the one you want to review.
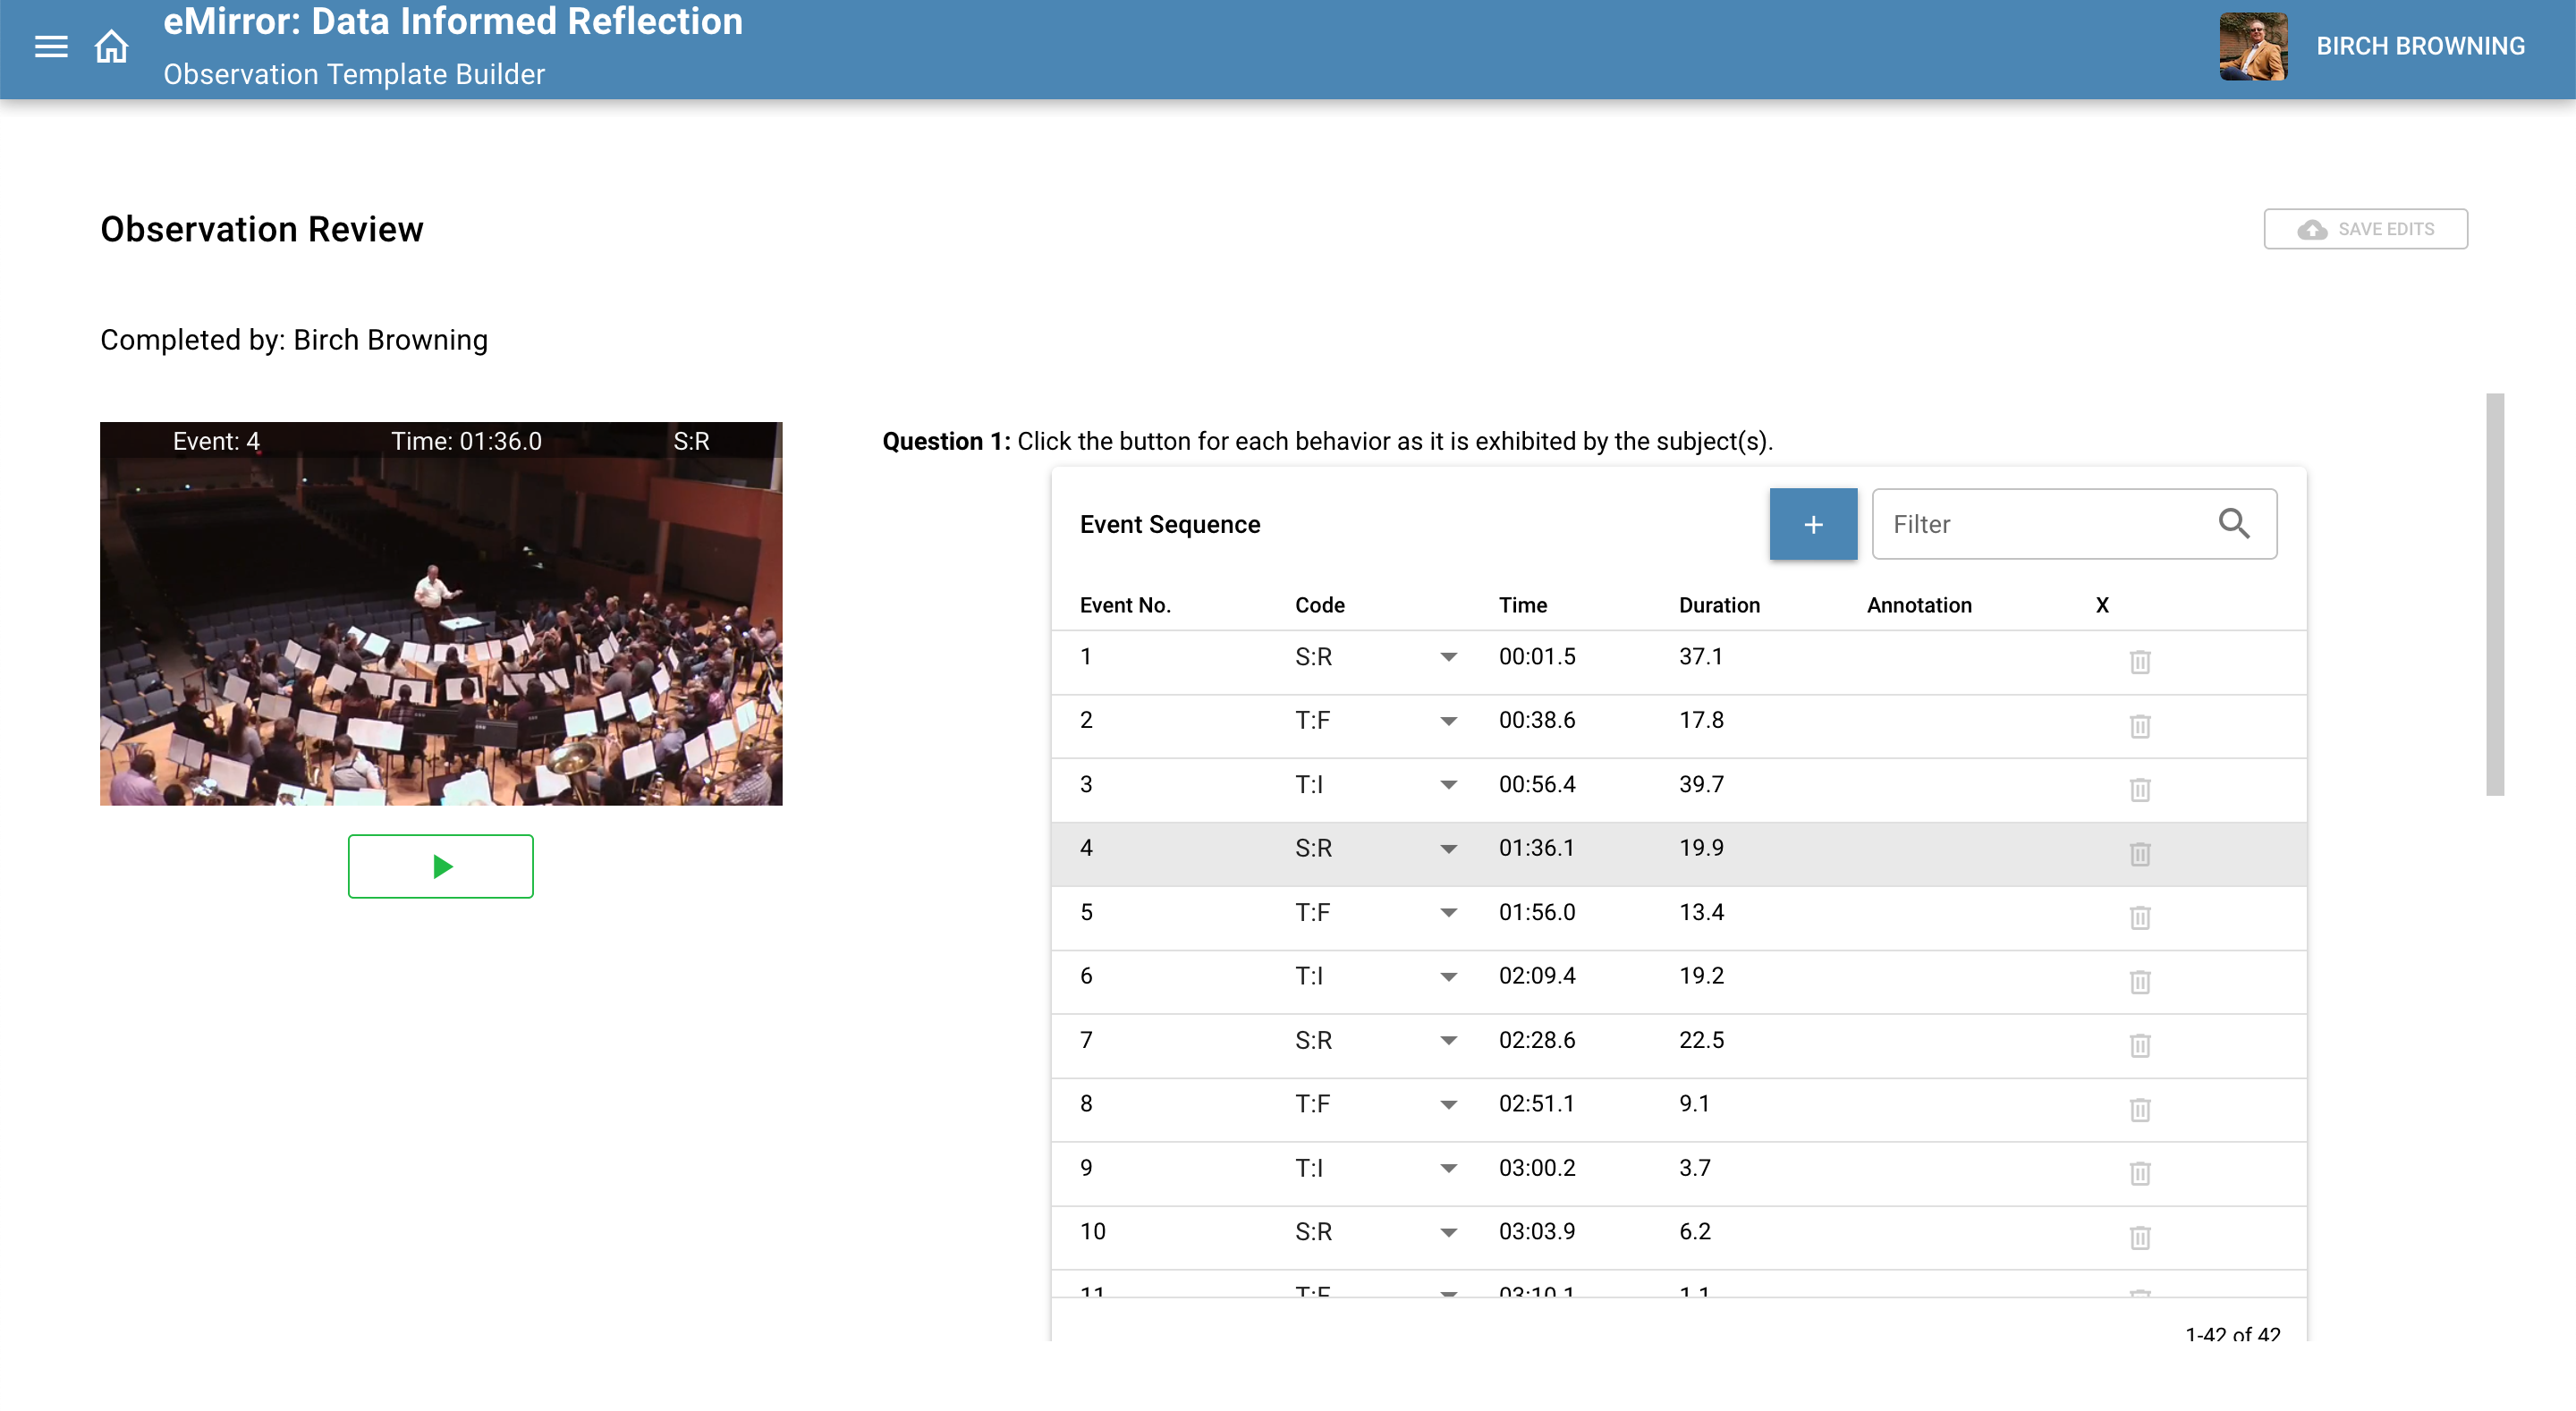
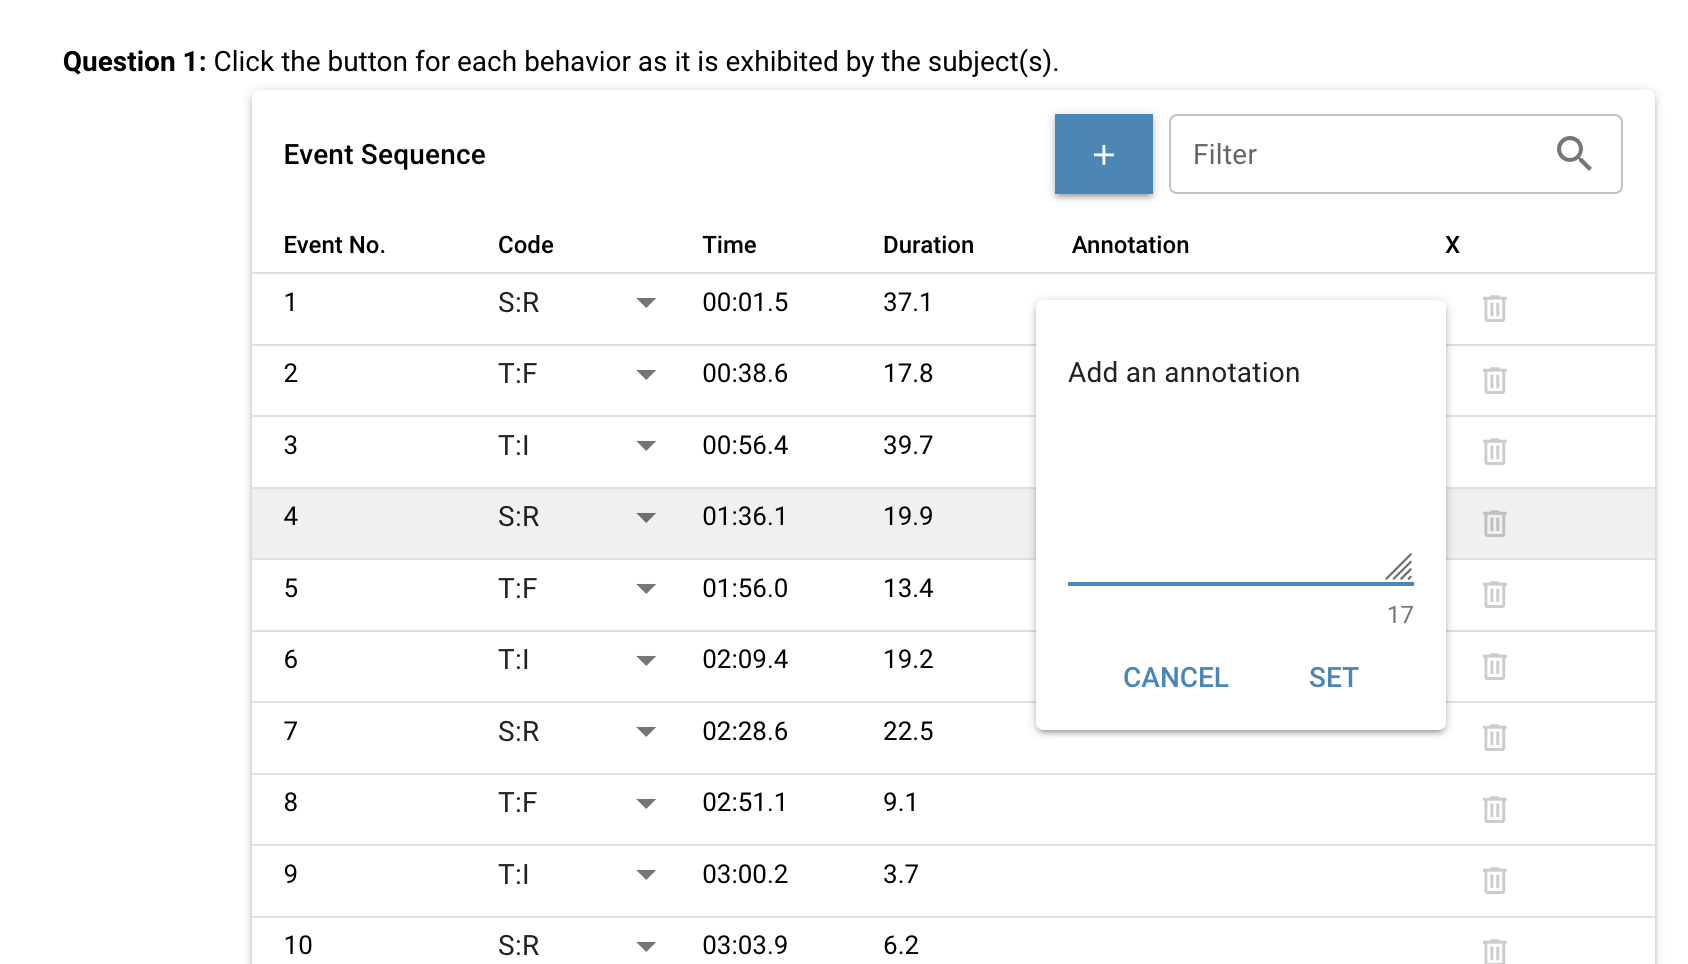
Events Table
Your observation result document will vary depending on the the type of observation, the number of subjects, how many categories you created, and etc. The Events Table has several functionalities that you should be aware of. The events table shows the sequence of events in the observation, including the behavior code, the start time of the behavior, and the duration of the behavior event.

- If you single click on the event number, e.g., event 4, the video wil jump to that event. If you double-click on event 4, the video will jump to the beginning of event 4 and the video will play up to the end of event 4. This makes it convenient to review specific events in your observation.
- If you have multiple subjects and you need to change who was exhibiting the behavior, simply click on the subject's name in the event row. (Not shown.)
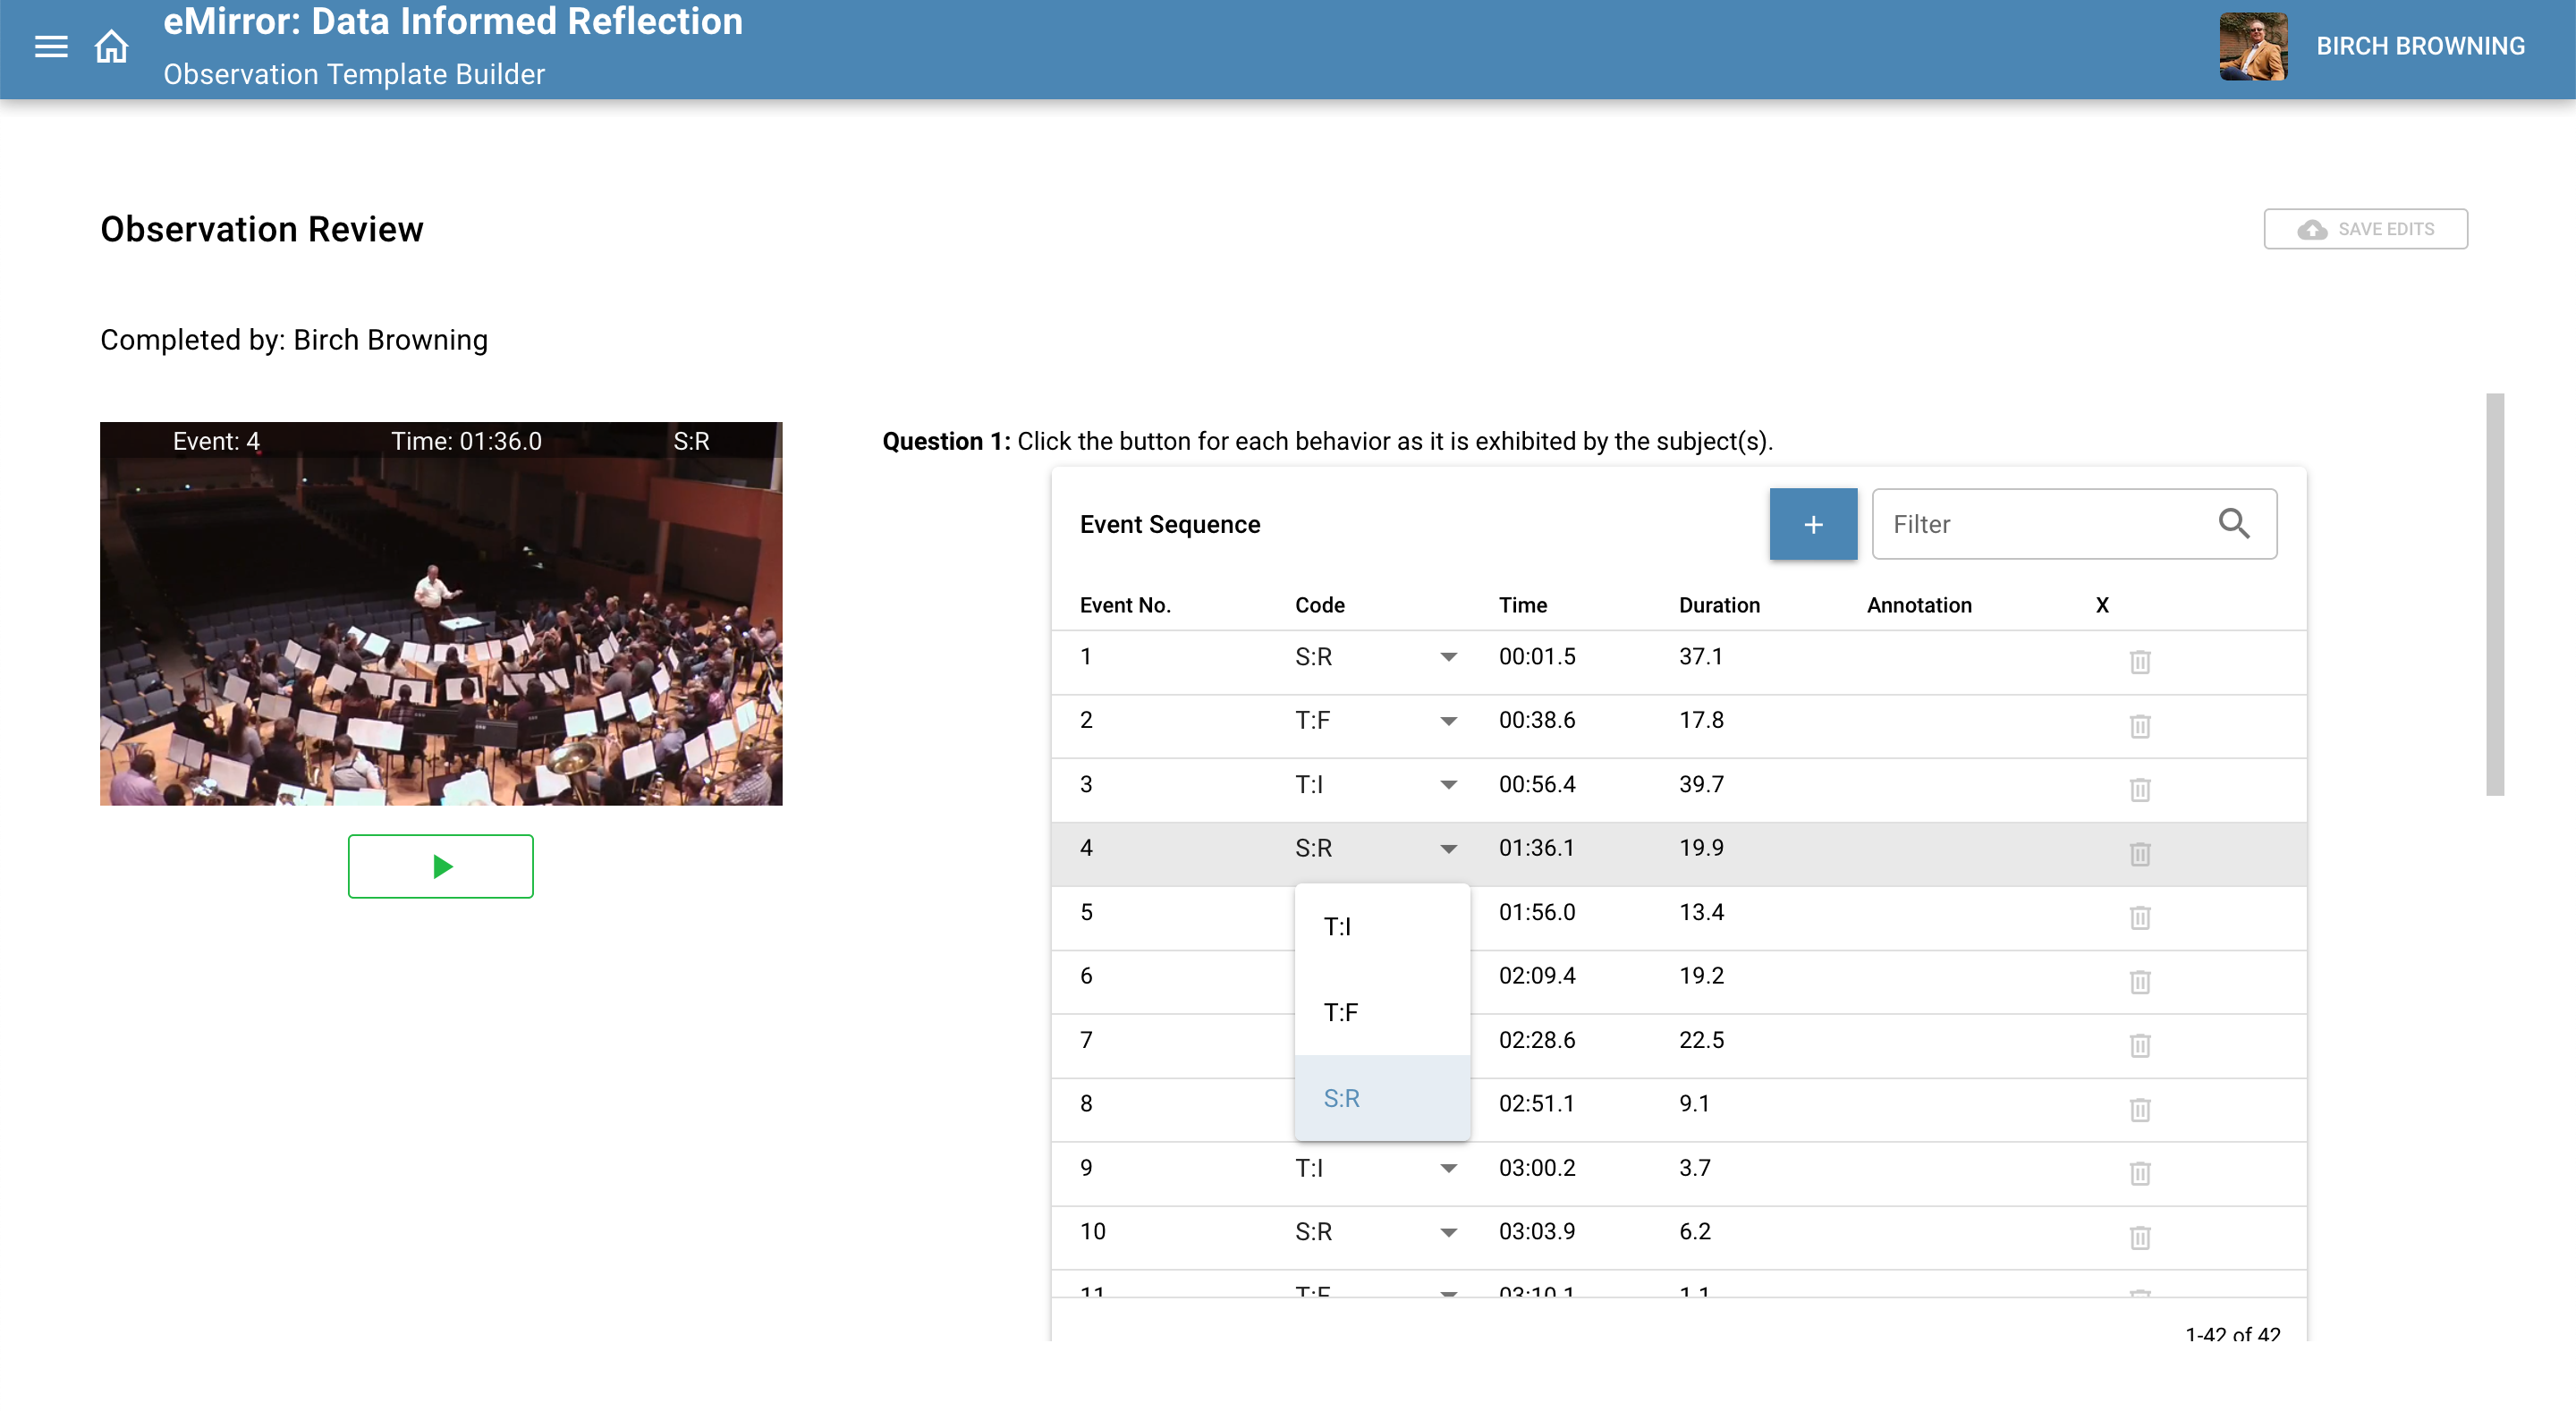
- If you clicked the wrong button during your observation, you can change the recorded behavior by clicking on the code in the event row.
- If you need to change the starting time of a particular event, click on the Time in the event row. Two dashes subtracts a full second from the start time; one dash subtracts a tenth of a second. The pluses work in the same manner.

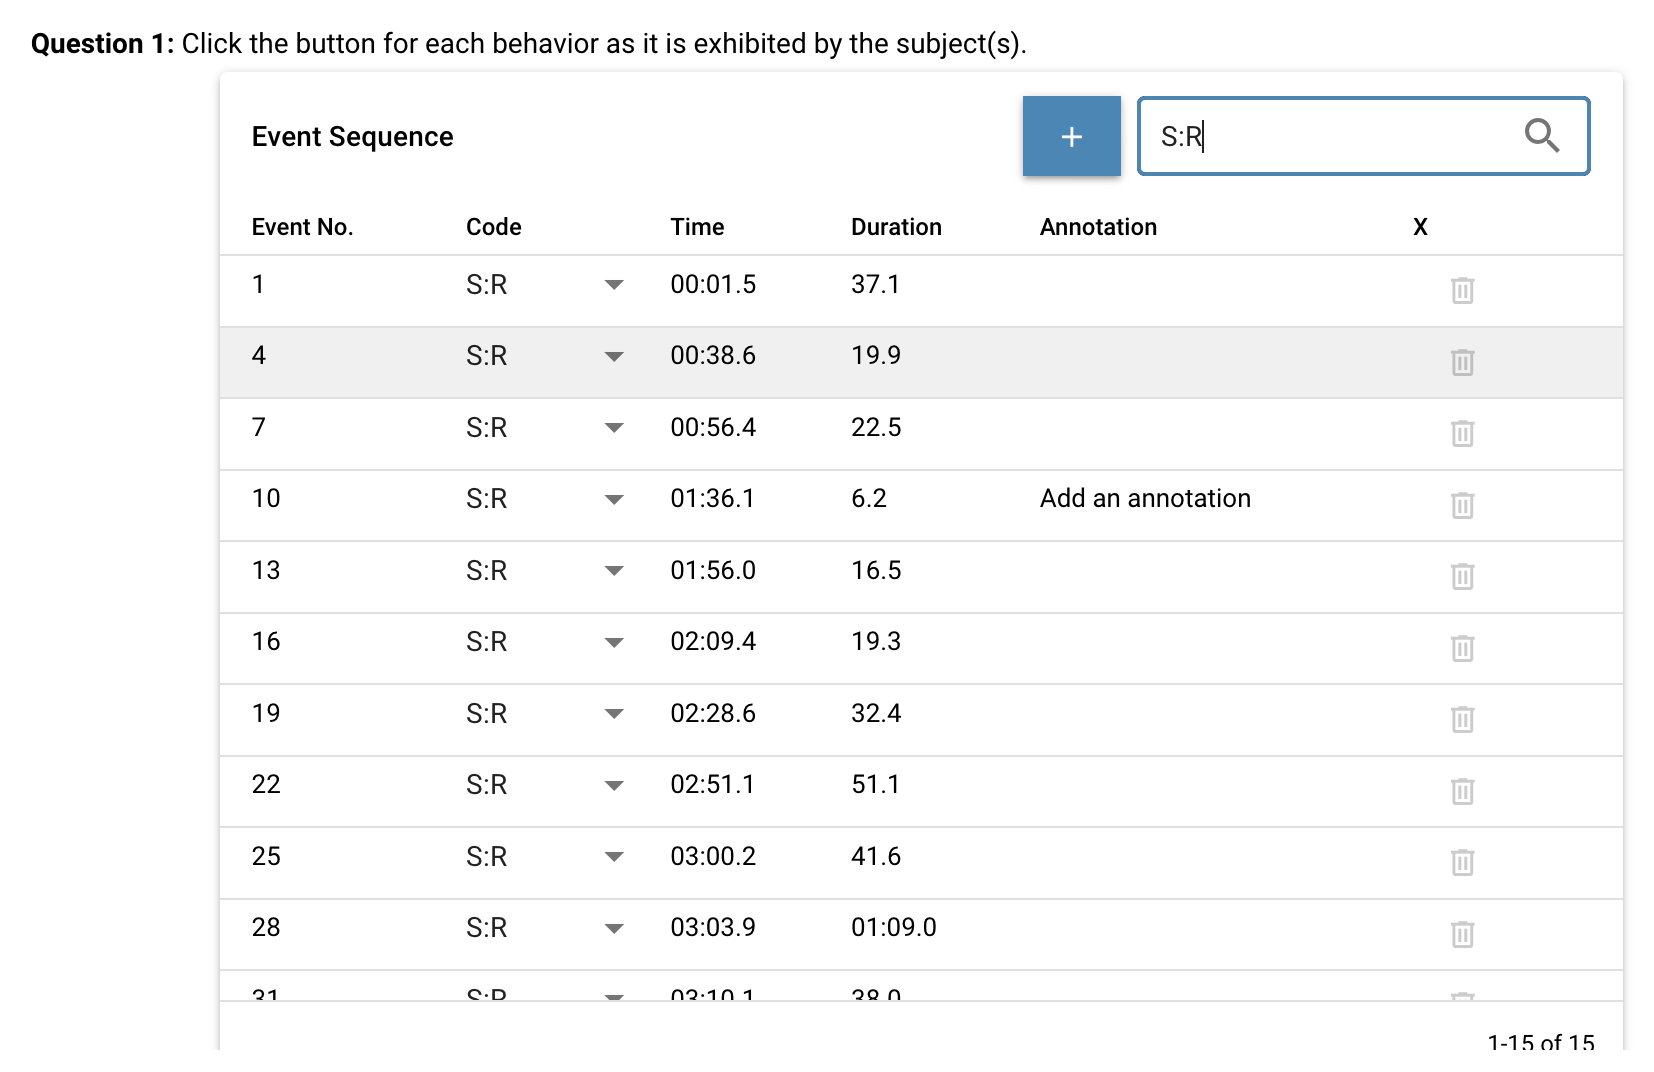
- You can use the filter to only show certain event types or limit to one subject if you have multiple subjects.
You can also delete the event completely. If you do so, the duration of the deleted event is added to the previous event.
Annotations
You can add an annotation to each event:

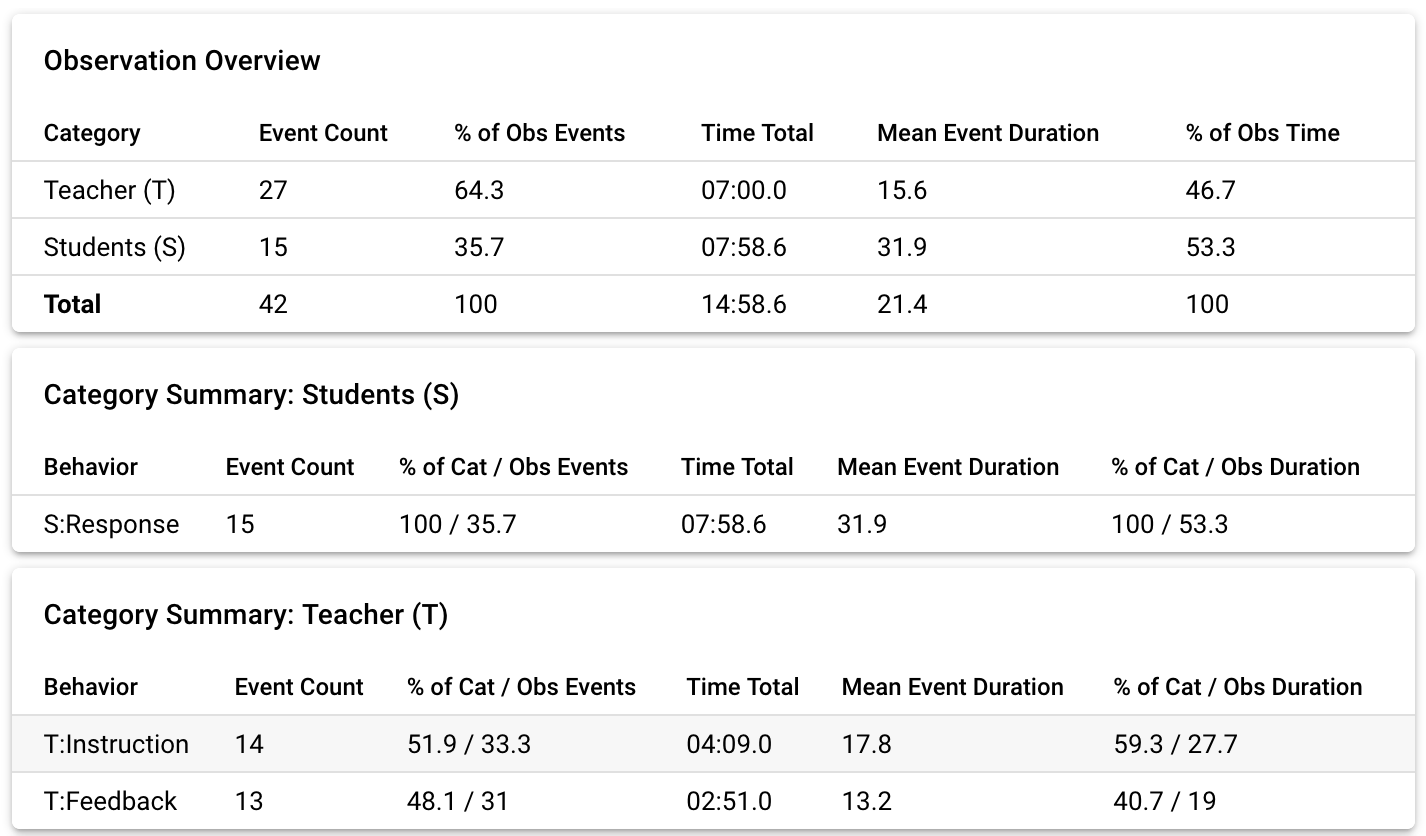
Results Tables
The results tables show various data calculations for the complete observation and for each category of behaviors. Each table has a filter so that you can limit the results. Notice that whenever you edit the events in the sequence, all of the data results are automatically recalculated.
Commentary
At the end of the results, you can insert overall commentary on the observation. The commentary area uses a sophisticated rich text editor, so you can format the text and various types of lists. The small green icon is for Grammarly and is not part of eMirror.

SAVE!
YOU SHOULD BE SURE TO SAVE ALL OF YOUR CHANGES even though the software will prompt you to save if you try to leave the page.